
Last updated November 17, 2026
Attic Insulation Maintenance Checklist for Henderson Homeowners
Blown fiberglass loses roughly 1 inch of effective depth per decade in a desert attic. Thermal cycling – the daily swing between a 30-degree winter night and a sun-baked roof deck in the afternoon – plus plain gravity compacts the blanket year after year. That means an R-38 installation from 2010 may be performing closer to R-30 today, and that’s before you account for a rodent tunnel or a sagging patch near the hatch. Nothing dramatic happens. No water stain on the ceiling. No obvious draft. Your Henderson home just quietly costs more to cool each summer, and the failure never gets loud enough to notice. This checklist turns a vague attic look-around into a structured annual inspection with pass/fail criteria you can actually apply. Henderson homeowners reading this will come away knowing what to measure, what to photograph, and what to hand off to a contractor with a blower door.
Quick Answer
A Henderson attic insulation inspection checklist covers five things: current depth measured at five points, the condition of the air-sealing layer around top plates and penetrations, signs of pest damage, the state of the HVAC duct runs, and any moisture staining. Pass or fail each one with a photo and a number. Anything that fails depth or air sealing needs a blower-door reading to quantify, not a guess. Zone 3B, which includes the Las Vegas Valley, calls for attic insulation of at least R-38, and in our experience most Henderson attics built before 2015 sit below that line.
Table of Contents

- Measure Depth at Five Points Before Anything Else
- Check the Air-Sealing Layer Before You Check the Insulation
- Rodents, Birds, and the Damage They Leave Behind
- The HVAC Duct Inspection Most Homeowners Skip
- Moisture, Staining, and Desert Attic Humidity
- What to Document Yourself vs. What Needs a Blower Door
- Common Mistakes to Avoid
- When to Call a Professional
Measure Depth at Five Points Before Anything Else
Depth is the first number you can put on paper, and it’s the one most people get wrong because they check one spot near the hatch. That spot is usually the deepest part of the attic, because the installer had the most room to work there. Measure at five representative points spread across the field, and write each measurement down with a date.
You need a stiff ruler or tape with the loose-fill markings, a flashlight, and knee boards. Never step through the ceiling joists – keep your weight on the joists or the boards, not the drywall. At each point, push the ruler straight down until it stops on the ceiling drywall, and record the depth in inches. If a tape or a small rule gets swallowed by the blow, use the technique most installers do: insert a marked stick and read the compression line where the fiber surface sits.
Here are your pass/fail lines, converting depth to the R-value you’re actually living with:
- R-38 minimum for Zone 3B: about 13 to 14 inches of loose fiberglass, or 11 to 12 inches of blown cellulose.
- Pass: your five-point average lands at or above the recommended depth for your material.
- Caution: you’re within 1 inch of the target – schedule a top-off within the next year.
- Fail: you’re 2 inches or more under target at more than two points.
If a depth ruler was left in the attic at installation (installers often staple a marked stick near the access), photograph it alongside your tape so the two readings match. That photographed ruler becomes your baseline. If your attic in Henderson has none, our team installs one as part of every job so the next owner has something to measure against. When the numbers come in low and you’re deciding between a top-off and a fresh install, start with our Attic Insulation in Henderson page for the depth and material tradeoffs.
Check the Air-Sealing Layer Before You Check the Insulation

Insulation slows heat. It does not stop air. If the sealed boundary at the attic floor is broken, adding more fiber just buries the leak. That’s why the air-sealing layer gets checked before depth – and why our crews will not blow insulation over an unsealed attic floor, ever. The order is sealed first, insulated second.
Do this walk-through with a flashlight held low, ideally on a bright afternoon. Look for daylight and gaps at these spots:
- Top plates. The wall board where the framing meets the ceiling. A continuous bead of sealant should run along it. Look for a visible line of daylight or a dark gap where air passes.
- Recessed light penetrations. Look at the housing from above. An “IC-rated” can is fine to cover; a non-IC can is a fire risk to insulate against and often leaks air from the room below.
- Attic hatch frame. Run your hand around the perimeter. Felt strips and a weatherstripped lid should seal it; a bare hatch frame is a straight chimney for conditioned air.
- Plumbing, wiring, and flue penetrations. Every hole drilled through the top plate is a leak until it’s sealed.
- Bathroom and kitchen exhaust fans. The duct collar and the ceiling penetration both matter.
Any open gap is a fail. You can note and photograph it, but the sealing itself calls for fire-rated sealant applied correctly, especially around heat sources. That’s a job to hand off. The result gets measured with a blower-door test – a pressurization reading that shows, in one number, how much air your building envelope is losing. We publish before-and-after readings on every applicable job so you can see the change you paid for. The details live on our Envelope Insulation Henderson home page.
Rodents, Birds, and the Damage They Leave Behind
Desert wildlife loves a warm attic in January. Rodents tunnel through loose fill and mat it down into hard runways that lose most of their R-value. Birds, especially in neighborhoods near the open desert edge and golf-course water features, nest in the perimeter where the roofline meets the wall. The question isn’t whether you have a pest sign; it’s how much of the attic is affected.
What to look for:
- Tunnels and compaction. Raised, hard-packed ridges cutting across the fiber – the classic sign of rodent traffic.
- Droppings and urine staining. Contamination means that section of insulation is a health concern and needs removal, not a top-off.
- Nesting material at the perimeter. Twigs, grass, and shredded paper packed into the eaves and corners.
- Entry points. Gaps at the roof-to-wall junction, soffit vents, gable vents, and any plumbing or gas line boot.
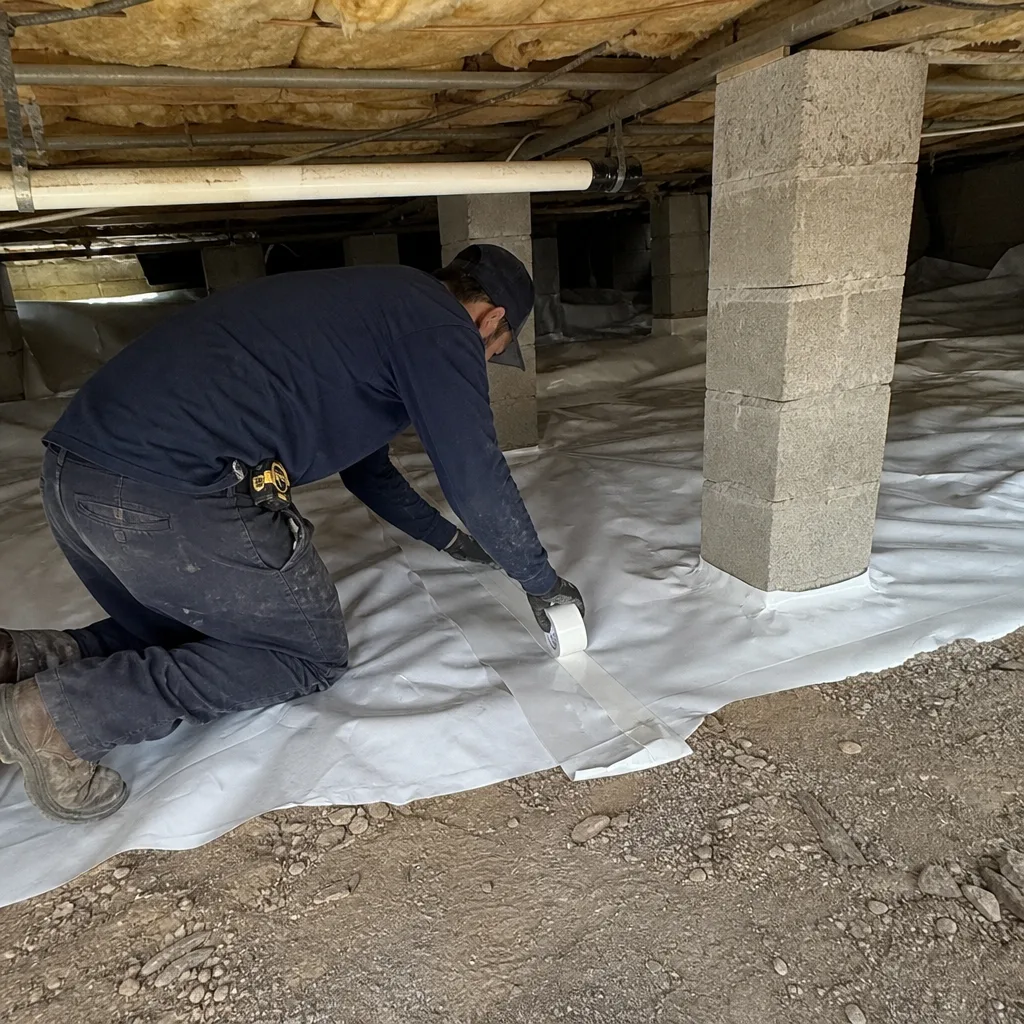
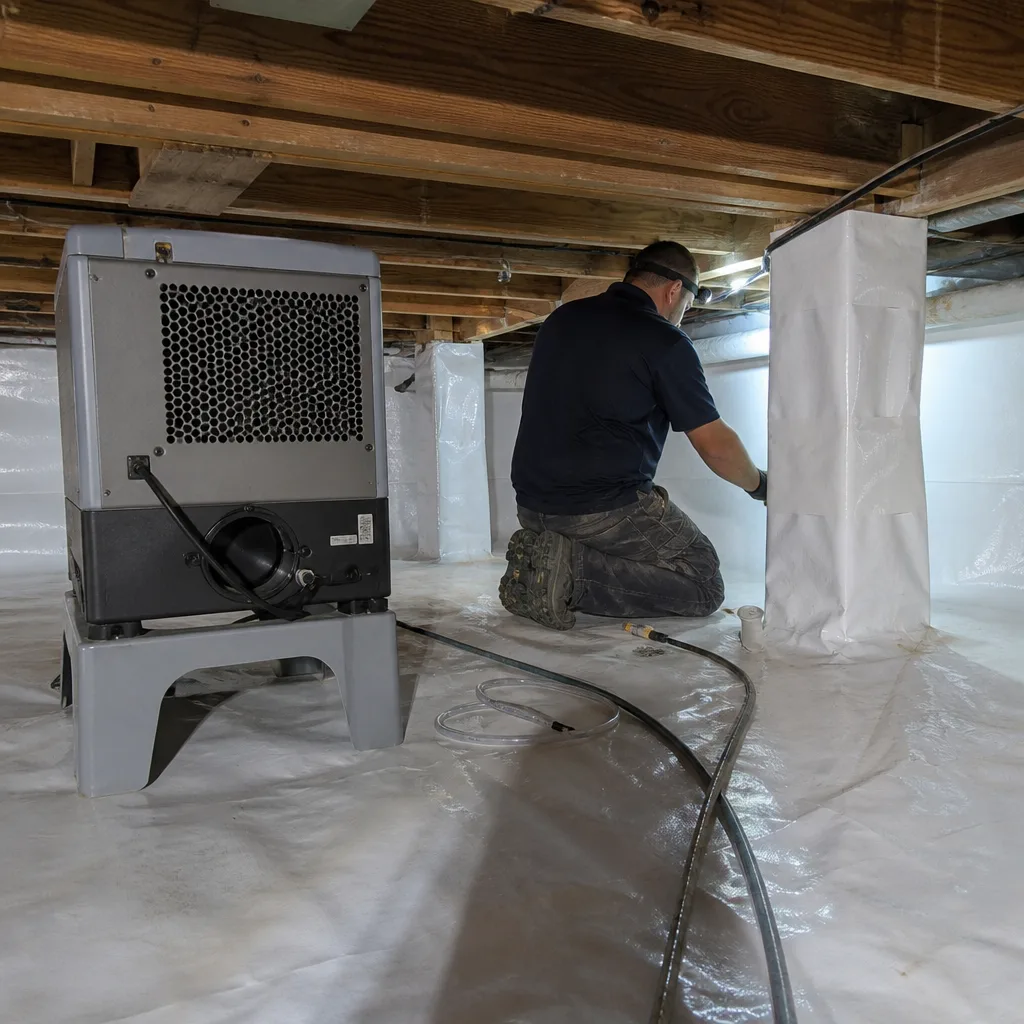
Here’s the distinction that decides your next step. Minor perimeter nesting with no contamination in the main field can usually be cleaned, the entry points sealed, and the insulation restored. A full replacement trigger is when droppings or urine run through the field, when tunnels displace a large share of the depth, or when nesting has been going on long enough that the fiber is matted across multiple bays. In that case, removal and fresh insulation is the honest answer, and we say so. If a gut check tells you something’s living up there, our Crawl Space Encapsulation & Vapor Barrier in Henderson page covers the lower half of the envelope where the same pests often get in first.
The HVAC Duct Inspection Most Homeowners Skip

A crushed flex duct or a disconnected collar under the insulation causes the same symptoms as failed insulation: rooms that never cool, high summer bills, a system that runs and runs. Homeowners replace the insulation and the problem stays, because the real leak was in the duct run the whole time. Inspect the ducts in the same pass.
- Trace every run from the air handler to its register boot, even if you have to move a little insulation to see it.
- Look for crushed sections. Flex duct bent past a sharp radius or pinned under a board loses airflow.
- Check collar connections. A disconnected or slipped collar at the boot or plenum dumps conditioned air into the attic.
- Check the duct jacket. Torn or missing insulation on the duct itself is a leak of both air and R-value.
- Look for condensation lines. In a desert attic, moisture on a duct points to a leak or a sweating problem, not normal humidity.
Photograph every finding. Duct repair follows the same rule as air sealing: fix the leak before you bury it. A crushed run in Henderson is common in older single-story homes where ducts were run tight to the joists during a remodel.
Moisture, Staining, and Desert Attic Humidity
Henderson attics are dry most of the year, which makes any moisture sign stand out. You’re looking for water staining on the roof sheathing and rafters, rust on nail points, sagging fiber, and a musty smell that shouldn’t be in a dry climate. A roof leak, a bath fan venting into the attic instead of outside, or a slow plumbing drip is the usual cause. Water compresses and ruins insulation wherever it sits. Trace and stop the source first; only then does adding insulation make sense. If you’re chasing a source that turned up in the lower envelope too, our encapsulation guide and Spray Foam Insulation in Henderson page both cover how moisture behaves at the envelope edges. Foam, when it’s the right call, gives you a sealed surface that also resists the vapor drive.
What to Document Yourself vs. What Needs a Blower Door

The checklist’s value is in splitting findings into two buckets: things you can note and monitor, and things that need a number from a diagnostic tool before anyone touches the insulation.
- Document and monitor yourself: depth readings at five points, the photo of the depth ruler, a dated photo of any pest sign, duct photos, hatch seal condition, and a running note of any room that’s hard to cool.
- Need a contractor and a blower door: any open air gap that fails the daylight test, contamination that needs removal, a crushed duct inside a chase, and any attic where depth is low but you need to know whether leaking air is the bigger problem.
A blower door quantifies the entire boundary in CFM50. A reading of 4,200 before sealing and 2,100 after tells you precisely what the air-sealing work bought. No photo and no depth measurement can tell you that. Under Haven Standard Clause 1, we put the flat price, written scope, and written warranty in writing before anyone lifts a tool, and we publish before-and-after blower-door numbers on every applicable job. That’s the difference between a documented result and a claim. Homeowners who like to verify the work can also request a free second opinion on any written estimate they’ve collected, and we’ll read it together.
Common Mistakes to Avoid
- Measuring only near the hatch. That’s the deepest, easiest spot and almost always misleads. Take five points and average them.
- Blowing insulation over unsealed gaps. Adding fiber to a leaky attic floor buries the leak and hides it. Seal first, always; we won’t do it any other way.
- Treating a pest runway with a top-off. Topping off over contaminated fiber traps the droppings and the odor. Removal comes first when contamination is present.
- Ignoring the ducts. A crushed flex run under the insulation causes the same symptoms as failed insulation and won’t fix itself with more R-value.
- Skipping the blower door. Without a before-and-after CFM50 reading, you can’t prove the air-sealing worked. Insist on the numbers.
- Letting a contractor start without a written price. In the Henderson market, you should get flat pricing, a written scope, and a written warranty before work starts, not a handshake.
- Choosing a material on brand name alone. We source from Knauf, Rockwool, CertainTeed, and Icynene, among others, but the material choice should follow your attic’s actual condition, not a logo.
When to Call a Professional
Bring in a professional when a checklist item fails in a way you can’t safely fix yourself: open air gaps at top plates or recessed lights, contaminated insulation that needs removal, a crushed or disconnected duct in a tight chase, or any depth reading that lands below R-38 and you want to know whether sealing or insulation is the real fix. Anything electrical or near a heat source, leave to a trained pro. The sealing and the depth question both need a blower door to answer honestly, and a top-off without it usually wastes money.
Envelope Insulation Henderson offers free estimates in Henderson – call (844) 320-5338. You’ll get a written price before any work starts, a free second opinion if you’re holding a competing quote, and a documented photo record on every visit.
Frequently Asked Questions
For Zone 3B, which includes Henderson, you want at least R-38: about 13 to 14 inches of blown fiberglass or 11 to 12 inches of cellulose. Measure at five points across the field and average them. If you’re more than 2 inches short at most points, a top-off is worth pricing.
Once a year, ideally in early fall before the cooling season ends and again after any pest activity. Henderson’s thermal cycling compacts fiber over time, so an annual five-point depth check catches slow settling before it shows up as a higher summer bill.
You can add over the old fiber only when the attic is clean, dry, and air-sealed and there’s no contamination. If rodents have left droppings through the field or moisture has matted the fiber, removal comes first. Air sealing is a hard prerequisite, not a step you skip.
In a dry desert attic, moisture usually means a roof leak, a bath fan venting into the attic instead of outside, or a plumbing drip. Trace and stop the source before adding any insulation. A musty smell in a Henderson attic is a warning sign worth taking seriously.
Depth checks are something you can do yourself for the price of a tape measure. A professional inspection with a blower door is where the value is, and it’s included in the free estimate. Call (844) 320-5338 and we’ll give you a flat, written price before any work begins – no phone quote, no guessing.
Not always. A crushed duct or a disconnected collar under the insulation causes the same symptom, and more R-value won’t fix it. The HVAC duct inspection comes first, then air sealing, then depth. A blower door and a duct check tell you which one is actually the problem.
The Bottom Line
Attic insulation in Henderson fails quietly, so the annual walk-through is your early warning system. Measure depth at five points and record the numbers. Check the air-sealing layer for daylight before you judge the fiber. Look for pest tunnels and contamination, and treat those as a removal trigger, not a top-off. Inspect the ducts in the same pass. Then split your findings into what you can monitor and what needs a blower door to quantify. Sealed first, insulated second – in that order, every time. If you’d rather have a documented baseline from the start, call Envelope Insulation Henderson at (844) 320-5338 for a free estimate.
Written by the team at Envelope Insulation Henderson.