
Last updated November 17, 2026
Attic Insulation Troubleshooting: Common Problems and How to Fix Them
If your upstairs rooms are still hot after an insulation upgrade, there’s a better-than-even chance the crew buried an air bypass instead of sealing it. Thermal imaging of that attic will show you the proof: a bright streak cutting through otherwise cold insulation, the visual signature of air washing the material’s performance away. Insulation slows heat; it doesn’t stop air. When conditioned air escapes through a gap in the ceiling plane, no amount of added R-value fixes it. This guide covers the failures we diagnose most often in Henderson attics, how to tell an air-leakage problem from an R-value problem, and what a real fix looks like.
Quick Answer
Most attic insulation that “isn’t working” is failing for one of four reasons: air leaking around the ceiling plane faster than the insulation can slow heat, insulation installed at the wrong density and now settling, moisture from a bath fan venting into the attic, or batts compressed below their rated thickness. The fix depends on which one you have. Adding more insulation on top of an air leak is the most expensive mistake we see, because the leak stays and the new material simply hides it.
Table of Contents
- Is it an air problem or an R-value problem?
- The smoke pencil test at the ceiling plane
- Why blown-in insulation settles (and what it tells you)
- Moisture staining and the bath fan that vents into the attic
- Compressed batts and the 40% R-value loss
- How to prove an air-sealing repair actually worked
- Common mistakes to avoid
- When to call a professional
Is it an air problem or an R-value problem?

The two failures look almost identical from the thermostat. Upstairs runs hot in summer, cold in winter, and the energy bill climbs. The difference shows up when you measure surface temperature across the ceiling plane rather than trusting a single reading.
An infrared thermometer pointed at the ceiling in a few spots will tell you a lot. Warm streaks in an otherwise even field, especially over recessed lights and along interior walls where the top plates run, point to air movement. An evenly warm ceiling across the whole room, with no streaks, points to an R-value shortfall. In Henderson’s climate, where summer attic temperatures routinely push past 140°F, an air leak does more damage than a thin blanket because the temperature difference driving the leak is enormous.
There’s a second tell. Air leaks leave dust shadows on the insulation surface and dark ghosting on the wood. Insulation that’s merely too thin looks uniform. If you see trails where dust has been pushed aside or streaked, you’re looking at air movement, not a coverage problem.
This is why our attic insulation in Henderson work always starts with sealing, not blowing. You can’t diagnose the R-value until the air movement is stopped, because the leak masks everything else.
The smoke pencil test at the ceiling plane
A smoke pencil is exactly what it sounds like: a small tool that releases a thin stream of visible vapor so you can watch which way air is moving. You can do a simplified version yourself with a stick of incense on a still day, with the house closed up and any exhaust fans running. The HVAC system running on fan-only helps too, since it pressurizes the house slightly and pushes air toward the leaks.
Here’s the sequence we run:
- Close all windows and exterior doors and turn off the clothes dryer.
- Run bathroom and kitchen exhaust fans. This depressurizes the house and pulls attic air toward you, which makes leaks at the ceiling plane easier to spot.
- Hold the smoke source near the base of recessed can lights, the top plates along interior walls, plumbing penetrations, and the attic access hatch.
- Watch the smoke. If it gets pulled up through a gap, you’ve found a bypass.
- Mark each spot with painter’s tape so you have a map before anyone touches the insulation.
Two safety notes. Don’t do this near an open flame source, and don’t climb around on attic joists without a walkway; a fall through drywall is the most common attic injury we hear about. If your attic has no stable walking surface or the access is difficult, this is the point where a professional inspection is worth the trip.
Almost every Henderson attic we open has a handful of can-light penetrations that were never sealed. They’re the single most common bypass in homes built between 2000 and 2015, and they’re cheap to fix once you know where they are.
Why blown-in insulation settles (and what it tells you)

All loose-fill insulation settles a little in its first year. That’s normal. What isn’t normal is settling more than about an inch per foot of installed depth. If your blown-in material was installed at 14 inches and it’s now sitting at 10, that’s a 28% loss, and it usually means the installer blew it too light.
Loose-fill products like GreenFiber cellulose and Owens Corning fiberglass have a target installed density that determines their rated R-value per inch. Blow it at lower density to save material and it looks deep the day of installation, then collapses within a season. The number on the bag is the R-value at the correct density; at the wrong density you’re paying for fluffy air.
How to check:
- Measure settled depth in five or six spots with a tape measure pushed to the ceiling drywall, not the joist top.
- Compare that depth to the depth noted on the installer’s documentation or the bag’s coverage chart.
- Look for a uniform surface. Uneven depth across the field is a sign the material was blown unevenly, which usually tracks with a light overall density.
If the numbers don’t line up, you’re not looking at a house problem; you’re looking at an installation problem. That’s the kind of thing a second opinion will catch, and it’s why we read competing estimates with homeowners rather than just quoting against them.
Moisture staining and the bath fan that vents into the attic
Bath fans are supposed to terminate through the roof or a gable wall, with a dedicated duct that doesn’t sag or run long. In practice, we find fans dumping moist air directly into the attic in roughly one out of every four homes we inspect in Henderson. The homeowner has no idea, because the fan sounds like it’s working.
The evidence shows up on the wood. Look for dark rings or tide marks on the roof sheathing, staining along the rafters, or frost in winter on the north-facing sheathing. Those marks are condensation events: warm moist air hits cold wood, condenses, and over years feeds mold and rots the deck. In a Henderson summer, the pattern reverses and the staining often looks like dried water spots rather than frost.
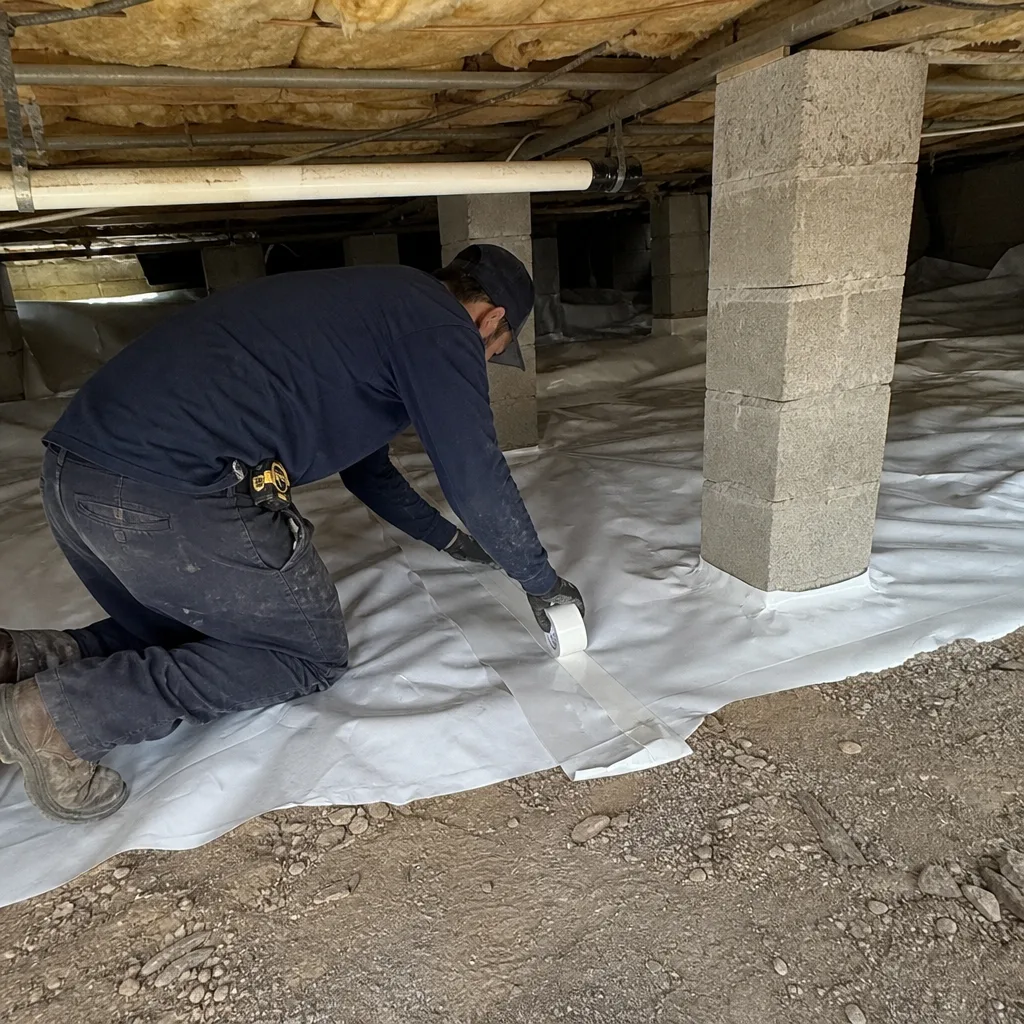
The fix is straightforward once found. The duct gets rerouted to a proper roof or wall termination with a backdraft damper, the old hole gets sealed, and any wet material comes out. Then the air sealing around that penetration gets redone, because the hole through the ceiling plane was a leak too. Crawl space moisture works on a similar principle; if you’re chasing damp air year-round, our crawl space encapsulation and vapor barrier in Henderson page covers the ground-up side of the same problem.
Compressed batts and the 40% R-value loss

Batts have a rated thickness for a reason. Compress a batt to half its rated thickness and you don’t get half the R-value; you lose roughly 40% of it. The material’s performance depends on trapped air, and squashing it squeezes the air out. A 2×6 wall cavity stuffed with R-19 and then covered with a ceiling deck doesn’t perform at R-19. It performs closer to R-11.
In attics, compression happens in a few predictable places:
- Where someone walked across the joists after installation and flattened the batts underfoot.
- Where batts were tucked under a knee wall or platform with no room for full thickness.
- Where a second layer was added over the first and the total exceeds the space available.
- Where wiring or ductwork was pushed down into the batts rather than routed above them.
The failure signature is a low, hard mat of material that won’t spring back. If you can press it and it stays compressed, it’s finished. The fix is removal and replacement at the correct thickness, often with loose-fill in the flat field where compression is hard to avoid.
This is a common reason people call us after a spray foam quote, wondering whether foam or batts is right for their attic. Our spray foam insulation in Henderson page covers when foam is genuinely the right answer versus when properly installed loose-fill does the same job for less.
How to prove an air-sealing repair actually worked
A visual inspection after air sealing is not proof. Air leaks are invisible, and the technician who did the sealing is the last person positioned to grade their own homework. The only credible proof is a blower-door test, which is a pressurization reading that shows, in one number, how much air your building envelope is losing. It’s expressed in CFM50: cubic feet per minute of air movement at 50 pascals of pressure difference.
Here’s how to ask for it:
- Request a pre-work blower-door test and the reading in writing before any sealing begins.
- Request a post-work test on the same day the sealing is completed, with both numbers documented.
- Make sure the test is a full depressurization test, not a “smoke test” or a visual walk-through.
- Keep both readings. If a future problem comes up, the baseline tells you what was actually achieved.
On applicable jobs, we publish the before-and-after blower-door readings so the homeowner can see the change in a single figure. A reading of 4,200 CFM50 before sealing that drops to 2,100 after is a measurable result. A photograph of sealed top plates is not; it’s a photograph.
If a contractor tells you a blower-door test isn’t necessary, that’s a useful piece of information about the contractor. It’s the one measurement that separates a real air-sealing job from a tidy-looking one.
Common Mistakes to Avoid

- Blowing insulation over an unsealed attic floor. The new material hides the leak and makes the next diagnosis harder. Seal first, insulate second, every time.
- Trusting a visual inspection as proof of air-sealing. Ask for the blower-door number before and after, or you’re paying for a guess.
- Adding a second layer of batts over a first that’s already compressed. You’ll spend money on material that can’t perform at its rated R-value because the space won’t accept the thickness.
- Leaving the bath fan ducted into the attic. In Henderson, that’s a slow moisture problem that turns into a mold and rot problem over about three summers.
- Accepting a price that isn’t written down before work starts. A verbal number and a vague scope is how a $2,000 job becomes a $4,000 invoice.
- Letting a crew blow insulation at low density to save material. It looks deep and settles flat. Ask what density they’re targeting and check the settled depth a year later.
- Skipping the second opinion when a quote seems high. A free read of a competing estimate often finds a sealed-first contractor and a blow-and-go contractor quoting the same number for very different work.
When to Call a Professional
Some attic problems are diagnostic puzzles worth solving yourself. Others are genuinely hazardous. Blown-in insulation, batts, and the access hatch are fine to inspect from a stable walkway with proper lighting. But anything involving the electrical system, can-light housings that need sealing and may be rated differently for insulation contact, or rewiring around an air-sealing repair belongs to a licensed electrician. Moisture problems that have progressed to visible mold or soft wood need a professional assessment, not a second coat of paint. And if your attic access is a small scuttle with no walkway, don’t climb in; a fall through a ceiling is a hospital visit.
If you’re in Henderson and the symptoms match what’s in this guide, our free estimate includes a written scope, a written price, and a documented photo record of what we find. Under our 365-Day Done Right Promise, if it’s not done right, we make it right. Call (844) 320-5338 and a live person will pick up, day or night.
Frequently Asked Questions
Measure ceiling surface temperature in several spots with an infrared thermometer. Warm streaks in an otherwise even field point to air leaks; a uniformly warm ceiling points to an R-value shortfall. Follow up with a smoke pencil test at can lights, top plates, and penetrations to confirm. A blower-door test gives you the definitive number.
It was likely installed at too low a density and settled more than an inch per foot of depth. Blown-in material only delivers its rated R-value at the correct installed density, and lighter material collapses within a season. Measure settled depth in several spots and compare it to the installer’s documented depth.
Yes, but only after the ceiling plane is air-sealed. Adding material over an unsealed attic floor traps the leak under the new insulation and makes the performance problem harder to find later. Seal first, then insulate, in that order.
Repair wins when the material is at the correct depth and density and the problem is air leaks or compression in specific spots. Replacement wins when compressed batts, moisture damage, or rodent contamination have compromised the whole field. A written scope with a blower-door baseline before and after is the only reliable way to tell which scenario you’re in.
The fan’s duct is almost certainly terminating in the attic instead of through the roof or a gable wall. Moist air condenses on cold sheathing and feeds mold. Look for tide marks or dark staining on the roof deck and rafters; the duct reroute is a straightforward fix once the pattern is confirmed.
Yes. We work throughout Henderson, including Green Valley, Anthem, Inspirada, and the older neighborhoods near downtown. Every job begins with a written price before any work starts, and we call you back the same day you reach out. Call (844) 320-5338 for a free estimate.
The Bottom Line
Attic insulation that isn’t working is usually failing for one of four reasons: an unsealed air bypass, installation at the wrong density, a bath fan venting into the attic, or batts compressed below rated thickness. The fix depends on which one you have, and the only way to know which one you have is to measure. Surface temperature readings and a smoke pencil test get you started; a blower-door reading finishes the job. If you take one thing from this guide, take this: seal before you insulate, and demand the number that proves it.
Written by the team at Envelope Insulation Henderson.
Call (844) 320-5338 for a free estimate.