
Last updated November 17, 2026
Blown-In Insulation Troubleshooting: Common Problems and How to Fix Them
The most common complaint after a blown-in job is “it didn’t make a difference.” In roughly half the cases we investigate, the insulation is performing exactly as installed. The problem is that it went in over unaddressed air leakage paths, and R-value cannot compensate for air movement. The house needs a blower-door test, not another bag of insulation. This guide walks through how to tell settling from displacement, why cellulose installed wet clumps and loses R-value, how attic ventilation erodes insulation at the perimeter, and the exact diagnostic order to follow when a Henderson home underperforms. You’ll also learn which problems can be corrected by adding depth and which require pulling the material entirely.
Quick Answer
Most blown-in insulation problems trace to one of three conditions: it was installed over unsealed air leaks, it went in wet or at insufficient depth, or attic air movement has displaced it. Real settling is normal and predictable; displacement, clumping, and perimeter erosion are not. The fix depends on which condition you have, which is why a blower-door test and a ten-point depth measurement come before any decision to add or replace material.
Table of Contents

- Settling vs. Displacement: How to Tell the Difference
- The Wet-Install Problem With Cellulose
- Soffit-to-Ridge Air Washing at the Perimeter
- The Diagnostic Sequence for an Underperforming Attic
- Repair or Replace? The Cost-Decision Logic
- Depth Requirements in Henderson’s Climate
- Why Air Sealing Comes Before Any Insulation
Settling vs. Displacement: How to Tell the Difference
Settling is normal. Blown-in fiberglass and cellulose both settle after installation, and reputable manufacturers publish a settled R-value that accounts for it. GreenFiber cellulose, for example, is specified at its settled density, not its loose-bag density. If your attic was installed to a settled depth of 13 inches for R-38, some reduction over the first year is expected and within spec.
Displacement is different. It’s material moved from where it was installed by air currents, animals, or poor coverage at the time of the job. The way to tell them apart is the depth pattern across the attic floor.
- Settling looks uniform. Depth drops evenly across the whole field. If you measure 13 inches at one end and 12.5 at the other, that’s settling.
- Displacement looks patchy. Deep drifts against a knee wall, thin spots near a hatch or a can light, bare patches around penetrations. The material has moved, not compacted.
- Animal displacement shows tunnels and nesting. Rodent runs through blown-in insulation leave distinct channels and matted clumps. That’s an entirely separate repair.
In Henderson, we regularly see displacement patterns tied to unsealed attic hatches and recessed can lights, where air movement pushes material away from the opening. If the thin spots line up with penetrations rather than running evenly across the floor, you’re looking at displacement, and adding depth on top won’t fix the cause.
The Wet-Install Problem With Cellulose

Cellulose is often installed with a light water mist to activate the adhesive and control dust. Done correctly, the moisture flashes off within days. Done on a tightly scheduled job where the crew is rushing, or in a humid attic with poor ventilation, moisture stays in the material, and that’s where problems start.
The visual signature of a wet-install problem is clumping. Instead of a loose, even blanket, you see dense, hard-packed nodules the size of a fist or larger, with lighter fluff between them. Clumped cellulose reads lower R-value because the air pockets that do the insulating have collapsed. In extreme cases, you’ll see dark staining, a musty smell, or visible mold on the attic decking. Any of those means the material has to come out.
This matters more in Henderson than in cooler climates. Attic temperatures here routinely push past 140°F in July, and a hot, poorly ventilated attic is not a fast-drying environment. We’ve pulled cellulose from Henderson attics where the clumping was uniform across the field, which points to a wet install from day one rather than a later leak. If your attic smells musty and you can see hard clumps, the insulation failed at installation, not from anything you did.
Soffit-to-Ridge Air Washing at the Perimeter
Attic ventilation moves air from the soffit vents at the eaves up to the ridge vent at the peak. That airflow is good for the roof deck, but it has a side effect: it washes across the top of the insulation at the perimeter and erodes it over time. Insulation baffles (the foam or plastic chutes stapled to the roof deck between rafters) are supposed to prevent this by keeping a clear air channel above the insulation. When baffles are missing, undersized, or installed wrong, the ventilation current runs directly over the blown-in material.
The visual signature is characteristic thin spots in a band along the eaves, 12 to 36 inches in from the exterior wall. The middle of the attic looks fine; the perimeter is scoured down to a couple of inches or bare. You can confirm it by measuring depth at the eaves and comparing it to the center of the attic. A 6-inch drop at the perimeter while the field holds steady is air washing, not settling.
Fixing it requires two things: reinstalling proper baffles at every rafter bay where ventilation meets insulation, then re-blowing the eroded perimeter to full depth. Adding material without baffles just gets washed away again next summer. This is one of the most common perimeter failures we correct in Henderson homes built in the 2015 to 2020 window, where baffles were often spec’d too short for the insulation depth the homeowner later added.
The Diagnostic Sequence for an Underperforming Attic

When a home underperforms after a blown-in install, resist the urge to start in the attic. Follow this order, because each step tells you whether the next one is even necessary.
- Compare utility data first. Pull 12 months of electric bills before the insulation and 12 months after. In Henderson, a home with adequate insulation should show a measurable drop in summer cooling costs. If the bills didn’t move at all, the problem is probably air leakage, not R-value.
- Measure depth at ten or more points. Grid the attic and record depth at each point, including the eaves, the center field, and around every penetration. A uniform low reading points to undersized install; a patchy reading points to displacement or air washing.
- Run a blower-door test. This is a pressurization reading that shows, in one number, how much air your building envelope is losing. A leaky attic floor reads high (we’ve seen Henderson homes at 4,000 CFM50 and up) regardless of how much insulation sits on top of it. If the blower-door number is high, sealing comes before any insulation work.
- Inspect for moisture and pests. Look for clumping, staining, mold, or rodent runs. Any of those changes the scope from “add material” to “remove and replace.”
The sequence matters. If you skip straight to step three and the blower-door number is high, you know the insulation wasn’t the problem to begin with. If you skip to step two alone, you might add depth to an attic that’s losing air through every can light.
Repair or Replace? The Cost-Decision Logic
Not every problem requires pulling the insulation. Here’s how we frame the decision for Henderson homeowners, with typical cost ranges for each path.
| Problem | Typical Fix | Ballpark Cost (Henderson) |
|---|---|---|
| Settling within settled-R spec | Add depth to target R-value | $400 – $900 for a 1,200 sq ft attic |
| Perimeter air washing | Install baffles, re-blow perimeter | $600 – $1,200 |
| Displacement from penetrations | Air seal penetrations, re-level field | $800 – $1,800 |
| Wet-install cellulose clumping | Full removal and reinstall | $2,400 – $4,500 |
| Rodent contamination | Removal, sanitation, reinstall | $2,800 – $5,000 |
The decision logic is simple: if the material is sound and the problem is coverage or air movement, add to it. If the material is contaminated, clumped, or moldy, replace it. Removing and reinstalling good insulation to fix a perimeter issue wastes money; leaving clumped cellulose in place wastes money twice, because you’ll pay again when you pull it later. A written estimate that separates sealing from insulating is the only way to compare quotes honestly. If you’re holding a competing estimate, we offer a free second opinion on any written estimate and will read it with you line by line.
Depth Requirements in Henderson’s Climate

Henderson sits in a hot, dry climate zone, and the depth you need is driven by summer cooling loads, not winter heating. The U.S. Department of Energy recommends R-38 to R-60 for attics in this zone. For blown-in fiberglass or cellulose, that translates to roughly 13 to 18 inches of settled depth, depending on the product. Owens Corning and Johns Manville both publish settled-depth charts; your installer should be able to show you which chart they used and what depth they hit.
Here’s the part most homeowners don’t hear: depth is measured after settling, not at the moment the bag empties. A crew that hits 13 inches at install and calls it R-38 without accounting for settled density has under-delivered. Ask for the depth measurement in writing, taken at multiple points, after the install is complete. On any job we do in Henderson, the depth reading and the before-and-after blower-door numbers go into the same documented record the homeowner keeps. That record is what lets you verify the work in a year when you’re deciding whether the attic needs attention again.
If you’re comparing options, attic insulation in Henderson covers the full depth and material guide for this climate zone, and spray foam insulation in Henderson explains when a foam application makes more sense than blowing loose-fill.
Why Air Sealing Comes Before Any Insulation
Every problem in this guide gets worse when air sealing is skipped. Insulation slows heat transfer through a solid surface; it does nothing to stop air moving through gaps. An attic floor with a hundred unsealed penetrations, top plates, and can lights is a sieve, and blowing R-49 on top of a sieve does not close it.
The fix is to seal first, in this order: top plates at every wall intersection, recessed can lights (with sealed, insulation-contact-rated fixtures or proper covers), plumbing and electrical penetrations, the attic hatch, and any dropped soffits. Then measure the blower-door number. Then blow insulation to the target depth. We won’t blow over an unsealed attic floor, because doing so just hides the leak and buries the problem where the next contractor has to dig it out.
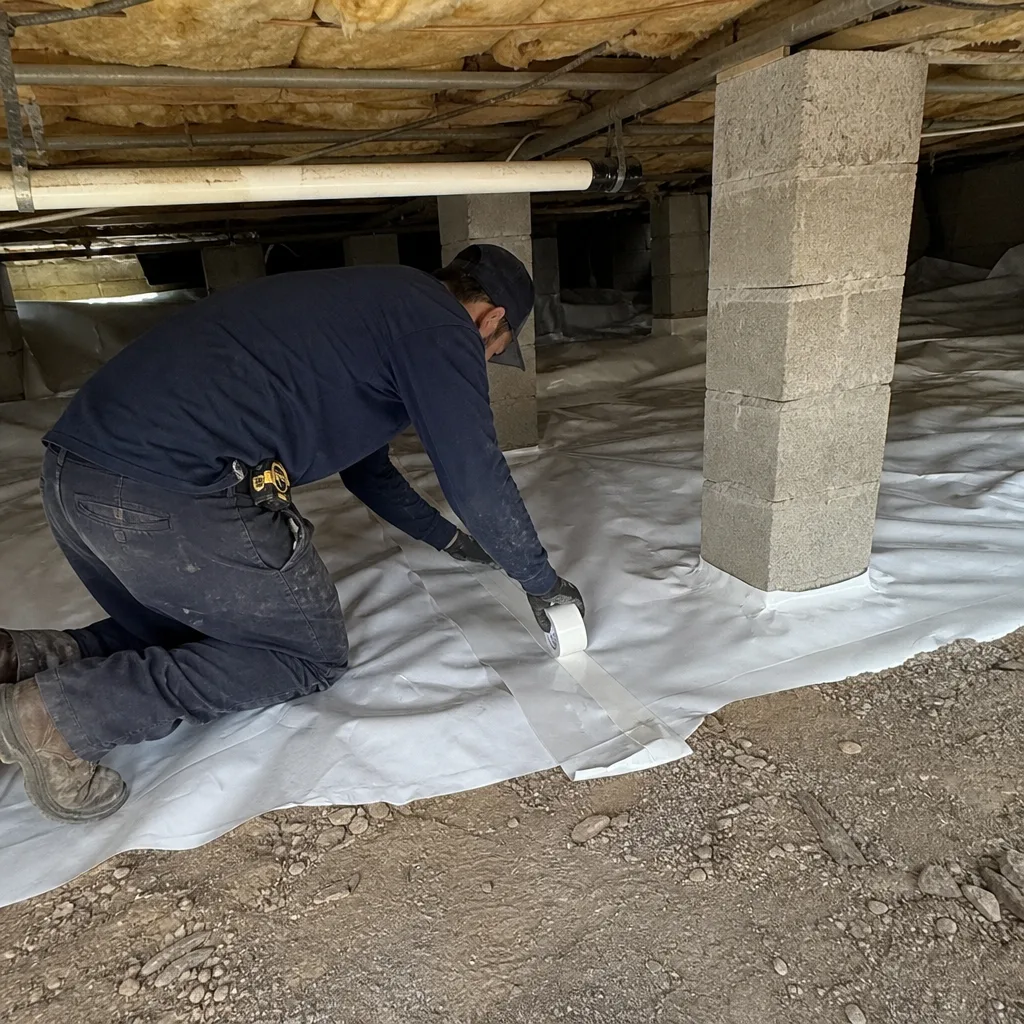
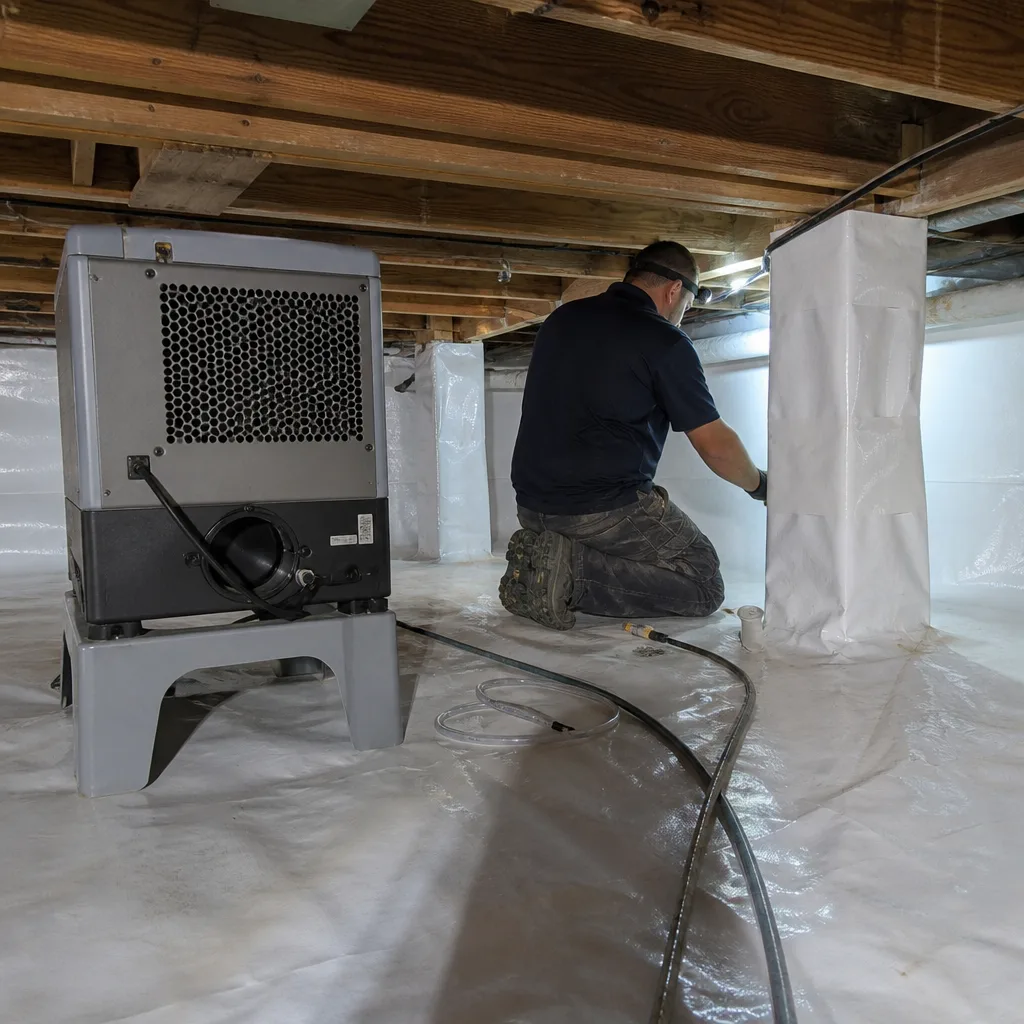
This is the same principle that applies in crawl space encapsulation and vapor barrier work in Henderson, where sealing the envelope comes before conditioning the space. Once the air sealing is verified, the blower-door reading on a Henderson home typically drops substantially. We’ve seen readings fall from around 4,200 CFM50 to roughly 2,100 on jobs where sealing preceded insulation, and every applicable job gets that before-and-after number in the paperwork so the homeowner can see the change they paid for.
Common Mistakes to Avoid
- Blowing over an unsealed attic floor. The most expensive mistake in the trade. You pay for insulation that can’t perform because air moves through it.
- Adding depth without checking the perimeter. If air washing eroded the eaves, adding material in the center just deepens the wrong part of the attic.
- Accepting an install without a depth reading. Ask for settled depth at multiple points in writing. No measurement means no proof.
- Ignoring an attic hatch. In Henderson, an unsealed hatch is one of the biggest single air leaks in the ceiling. It gets sealed and insulated like everything else.
- Choosing cellulose on price alone. Wet-install cellulose done fast can clump and lose R-value. Ask how the crew controls moisture and how long the material cures.
- Comparing quotes that don’t separate sealing from insulating. If one quote includes air sealing and another doesn’t, they aren’t the same job. Read the scope, not the total.
- Skipping the blower-door test. Without a before-and-after number, neither you nor the next contractor knows whether the problem is air or R-value. Start with the measurement.
When to Call a Professional
Some of this you can check yourself: a flashlight and a tape measure will tell you whether the depth is uniform or patchy, and your utility bills will tell you whether anything changed. But anything involving air sealing around can lights, pulling contaminated insulation, rodent remediation, or a blower-door test belongs with a trained crew. Can lights rated for insulation contact have to be handled correctly, and rodent-contaminated material is a health concern, not a DIY job. If your attic shows clumping, staining, or a musty smell, stop adding material and get it looked at. Envelope Insulation Henderson offers free estimates in Henderson, with a written price before any work starts. Call (844) 320-5338.
Frequently Asked Questions
In about half the cases we investigate, the insulation is fine and the attic floor above it was never air sealed. R-value slows heat transfer, but it can’t stop air moving through gaps around can lights, top plates, and the hatch. The fix is a blower-door test first, then air sealing, then any depth correction. Call (844) 320-5338 for an exact assessment; estimates are free.
Measure depth at ten or more points, including the eaves and the center. Even, uniform depth drop is normal settling; patchy depth, drifts against walls, or thin spots around penetrations means displacement from air movement or animals. The pattern, not the average, tells you which problem you have.
If it’s clumped, dark-stained, or smells musty, it has to come out. Clumped cellulose has lost the air pockets that do the insulating, and mold or moisture in a Henderson attic won’t dry out on its own. Removal and reinstall typically runs $2,400 to $4,500 for a standard single-story attic. Call (844) 320-5338 for a written scope and price.
Attic ventilation running from the soffit up to the ridge is washing across the material at the perimeter. Missing or undersized baffles are almost always the cause. The fix is proper baffles at every rafter bay, then re-blowing the eroded band to full depth. Adding material without baffles just gets scoured away again.
For this climate zone, target R-38 to R-60, which is roughly 13 to 18 inches of settled depth depending on the product. Ask for the settled depth reading at multiple points in writing after the install. Depth at the moment of install is not the same number.
Adding depth is cheaper when the existing material is sound and the problem is coverage or air washing. Replacement is the right call when the material is clumped, contaminated, or moldy. A written estimate that separates sealing from insulating is the only fair way to compare. Bring us a competing quote and we’ll read it with you at no charge.
The Bottom Line
Most blown-in insulation problems are installation-condition problems, not product problems. Settling is normal and within spec; displacement, wet-install clumping, and perimeter air washing are not, and each has a distinct visual signature you can check. The diagnostic order is fixed: utility data, then depth measurement at ten or more points, then a blower-door test, then a moisture and pest inspection. Adding depth fixes coverage problems; only removal fixes contaminated material; and air sealing has to come before any insulation goes down. If your attic underperforms, get the measurement before you get another bag. Our technicians have up to 10 years of experience, and every applicable job in Henderson ends with before-and-after blower-door numbers you keep. For a free estimate, call (844) 320-5338, or start at our Envelope Insulation Henderson home page.
Written by the team at Envelope Insulation Henderson.