
Last updated November 17, 2026
The Complete Attic Insulation Guide for Henderson Homeowners
A Las Vegas Basin attic can hit 160°F on a July afternoon. At that temperature, R-38 fiberglass batts deliver roughly R-20 of effective performance. That gap is the whole story of insulation in Henderson: no amount of added R-value closes it until you deal with radiant heat and air movement first. This guide covers what the physics actually demands, why NV Energy’s climate zone sets a different floor than the national DOE figure, how to read a blower-door result before you pick a material, and what paperwork a finished job should hand you.
Quick Answer
Attic insulation in Henderson works differently than in cold climates: the priority order is air sealing first, then a radiant barrier where the attic geometry justifies it, then insulation to roughly R-38 to R-49 for existing homes (zone 3B targets, with new construction following current Nevada code minimums). Fiberglass batts alone underperforming is the norm here, not the exception. A sealed and properly insulated attic in Henderson typically cuts summer attic temperatures by 30°F to 50°F and shows up in both your NV Energy bill and your blower-door reading.
Table of Contents

- Why Henderson’s Desert Physics Invert National Advice
- What R-Value Does Henderson Actually Need?
- How to Read a Blower-Door Result Before Choosing Insulation
- The Radiant Barrier Decision Tree
- Henderson’s Specific Air-Sealing Failure Points
- Choosing a Material for a Desert Attic
- What Documentation a Finished Job Should Produce
- What You Can Check Yourself vs. What Needs a Pro
Why Henderson’s Desert Physics Invert National Advice
Most national attic insulation content is written for cold climates, where the enemy is conductive heat loss through the ceiling. In Henderson, the dominant load is radiant heat gain from a roof surface that can exceed 170°F before noon in August. That heat radiates down onto the attic floor and into ductwork, and a vented attic in the Las Vegas Basin easily reaches 150°F to 160°F. Insulation slows conduction; it does not stop radiation.
That distinction matters because it changes what you buy. A homeowner from Minnesota is told to add R-value; a homeowner in Henderson may get more performance from sealing bypasses and controlling radiant load than from adding another six inches of loose-fill over an already-insulated but leaky ceiling.
Two more local factors play in. First, our HVAC equipment and ductwork often live in the attic, so any air leak in the ceiling plane pulls 150°F attic air into the ducts before it reaches a register. Second, Henderson’s overnight lows in summer stay above 80°F, so the attic never fully cools – the heat load is cumulative across the day. Every degree of that load a sealed and shaded attic removes is a degree the air conditioner doesn’t have to fight.
If you’re starting fresh, our Attic Insulation in Henderson page walks through the install sequence step by step.
What R-Value Does Henderson Actually Need?

Nevada’s Henderson-area climate zone is 3B (hot-dry). The U.S. Department of Energy publishes an R-value recommendation for zone 3 attics that runs higher than what many Henderson homes were built with, and the current Nevada energy code sets a minimum R-value for new construction that a 1990s or 2000s resale home almost never hits. Existing homes typically fall well under code because the builder’s original target was the code of the year it was built, not today’s.
Here’s how to think about the floor:
- New construction in Henderson (current code): typically R-38 to R-49 in the attic, depending on the code cycle the permit was pulled under. Check your permit documentation before assuming.
- Existing homes built 1990 – 2010: often R-11 to R-19 originally installed, and frequently compacted down to R-8 to R-12 by 20+ years of settling and duct work disturbance.
- Practical target for existing Henderson homes: R-38 to R-49 blown-in, after air sealing, is a reasonable floor for a vented attic.
- Cathedral or vaulted ceilings: usually R-30 to R-38 given the depth constraint – spray foam is often the only material that fits.
Here’s the counterintuitive part: a home with R-12 of compressed fiberglass but a 3,800 CFM50 leak can perform worse on a July afternoon than a sealed home with R-30. The label on the insulation is not the performance you’re buying. The blower-door reading tells you what you’re actually getting.
How to Read a Blower-Door Result Before Choosing Insulation
A blower-door test is a pressurization measurement that shows, in a single number, how much air your building envelope is losing. A calibrated fan mounts in an exterior door, pulls the house to 50 pascals of negative pressure, and the meter reports the airflow needed to hold that pressure. That figure is CFM50. Divide by the conditioned volume and multiply by 60, and you get ACH50 – air changes per hour at 50 pascals.
How to read what you get:
- Above 8 ACH50: the envelope is very leaky. On a Henderson home in our work, this usually means multiple unsealed top plates, unsealed can lights, and open HVAC penetrations. Any insulation added before sealing is wasted.
- 5 to 8 ACH50: typical of a 1990s – 2000s Henderson tract home. Most of the leakage is concentrated in a dozen or so penetrations. Air sealing alone drops this meaningfully.
- 3 to 5 ACH50: reasonable envelope, often post-2010 construction or a previously sealed home. Focus shifts to radiant control and insulation depth.
- Under 3 ACH50: tight home; verify combustion appliances have adequate makeup air before tightening further.
What matters for the homeowner is the before-and-after pair. A blower-door test that reads 4,200 CFM50 before sealing and 2,100 after tells you the air-sealing work cut infiltration in half. That’s the number you’re paying for, and any contractor who won’t publish both is asking you to take their word on the result. Under our Envelope Insulation Henderson practice, we publish before-and-after blower-door readings on every applicable job – that’s a Haven Standard commitment, not an option.
The Radiant Barrier Decision Tree

A radiant barrier is a foil-faced product that reflects radiant heat rather than absorbing it. Under a Henderson roof deck, a proper foil installation can drop attic air temperature dramatically. But it is not a universal add-on – the geometry of your attic decides whether it pays back or is wasted money.
When a radiant barrier pays back in Henderson
- Attic has a gable or ridge-vented roof with unobstructed deck: foil mounted on the underside of the roof deck facing down reduces radiant load directly onto the insulation.
- Ductwork runs through the attic in the top foot of air: duct surface temperature and radiant exchange here dominate summer gains; a deck-mounted barrier measurably cuts duct-thermal losses.
- Attic air temperature regularly exceeds 140°F: measured, not assumed – have it logged, don’t take a neighbor’s word for it.
When a radiant barrier is a wasted line item
- Attic is being fully encapsulated with spray foam on the deck: the foam already provides a radiant and conductive barrier; adding foil underneath is redundant spend.
- Roofline is full hip with no gable and heavy shading: the deck stays cooler; you’ll rarely see enough rooftop temperature to move the needle.
- Attic floor is already at R-49 and ductwork is inside the conditioned envelope: the load has moved; radiant barrier payback stretches out.
If you’re weighing foil against a sealed attic floor, the Spray Foam Insulation in Henderson page explains where 2 inches of closed-cell foam on the underside of the deck replaces the foil decision entirely.
Henderson’s Specific Air-Sealing Failure Points
Air sealing is the unglamorous work that makes every downstream dollar count. In Henderson homes built 1985 through today, we see the same leaks over and over. Here are the ones that matter most, in order of impact:
- Recessed can lights. A non-IC-rated can from a 1990s build is essentially a hole through your ceiling. Air sealing here is a gasketed trim and a sealed can cover from above, not silicone around the ring.
- Top plates and wall-to-ceiling seams. The framer’s plate is almost never caulked. Wind-washing through the insulation batts at these seams drops the effective R-value by several points and pulls dust into the attic.
- HVAC platform framing. The return-air chase is often the largest single leak in a Henderson attic. If the return plenum is built from framing, it’s probably leaking into the attic.
- Attic hatch and pull-down stairs. These should carry an insulated, weather-stripped cover – not a folding wooden set of stairs sitting above your hallway closet.
- Plumbing and electrical penetrations through the ceiling plane. Ten to thirty per typical Henderson home. Each one is a bypass.
- Chases around the fireplace and flue. These often run from crawl space to attic and pull a chimney effect year-round.
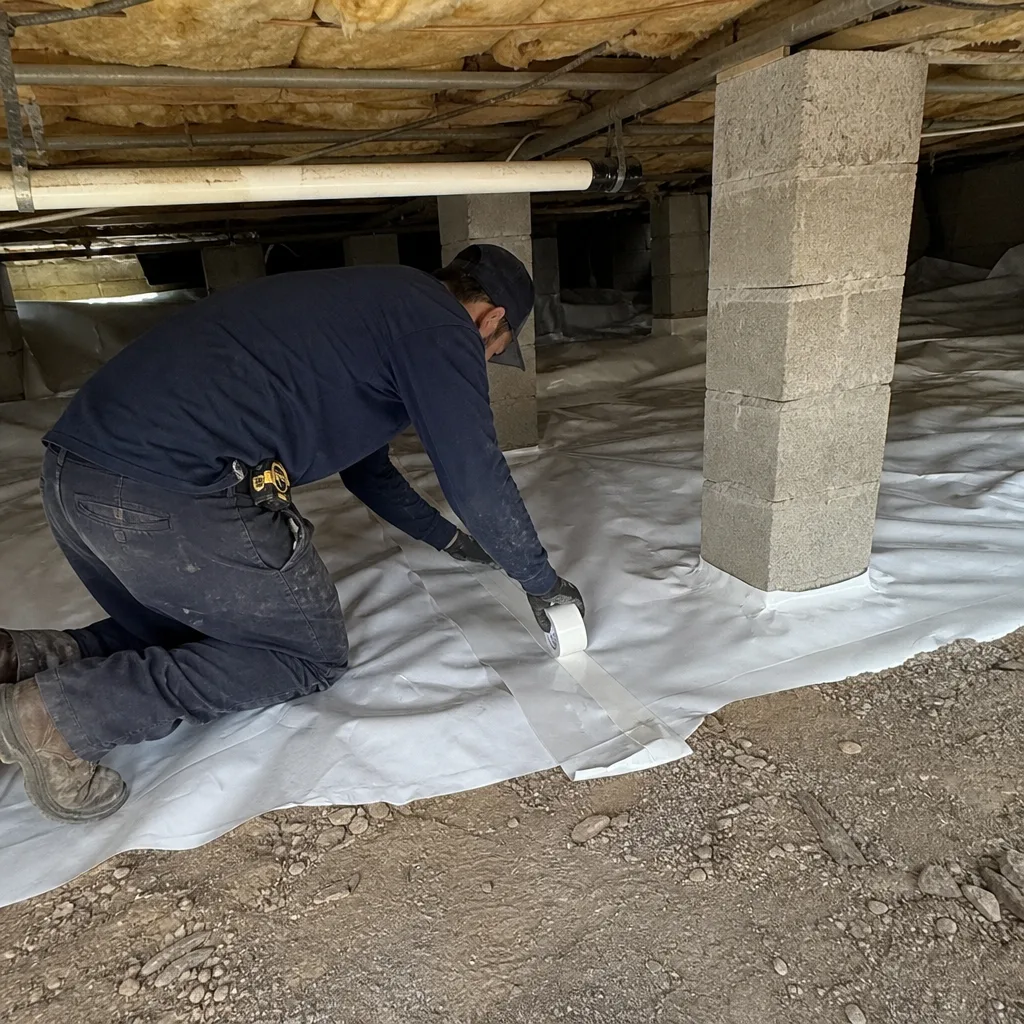
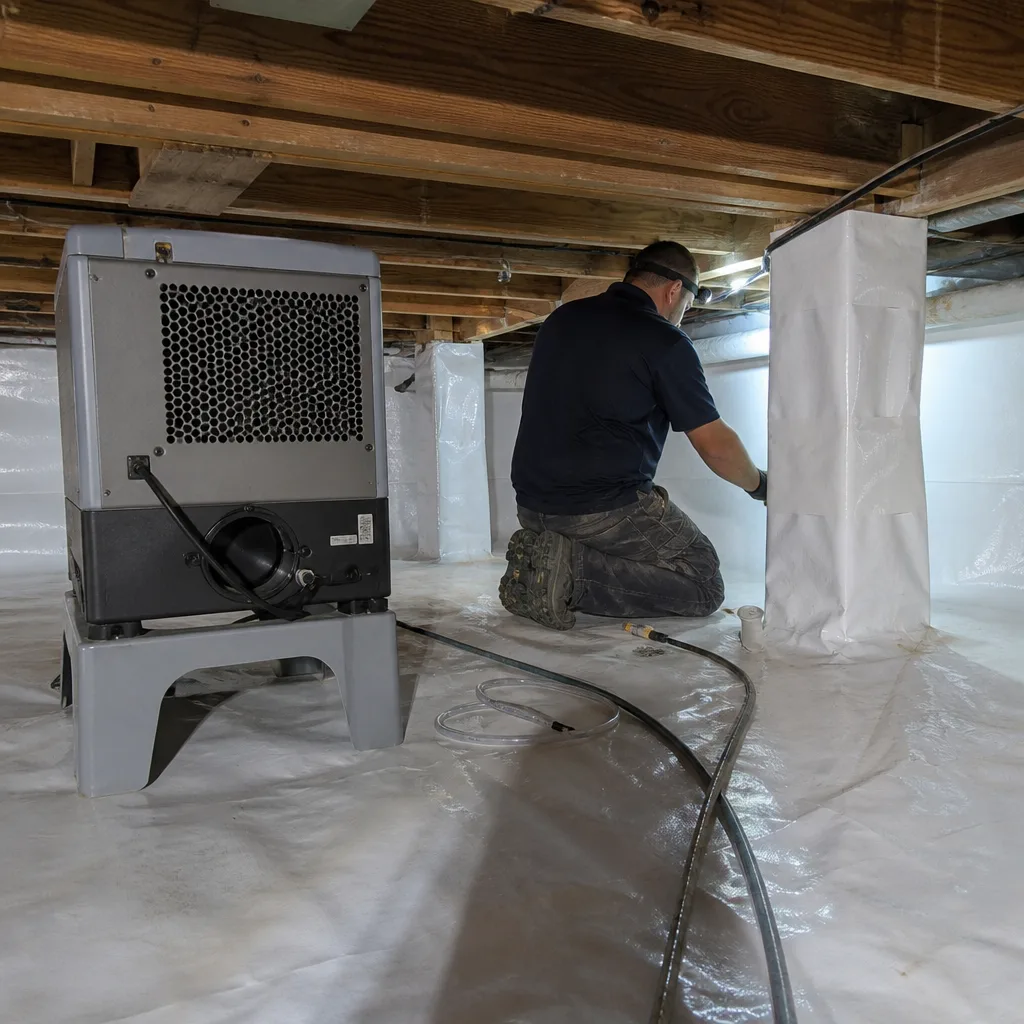
Order matters: seal first, then insulate. Blowing loose-fill over an unsealed floor doesn’t just underperform – it hides the leaks from the next contractor, who has to re-excavate to fix them. Sealed first, then insulated is the only ordering that respects the physics. For sub-floor work, the Crawl Space Encapsulation & Vapor Barrier in Henderson page covers the mirror-image leaks below the floor.
Choosing a Material for a Desert Attic

Henderson attics tolerate all major materials well, but each has a fit. In our experience across nearly every material family:
- Blown-in fiberglass (Knauf, Johns Manville): the default for vented attic floors. Settles to a known density, easy to top off, and forgiving of future access. Best value when the ceiling plane is already reasonably sealed.
- Blown-in cellulose (GreenFiber or similar): slightly higher R-value per inch, more resistant to air movement, but heavier – check that ceiling drywall is in good shape before loading.
- Mineral wool batts (Rockwool): best where the attic gets hot enough that batt sag or degraded binder is a concern; also good around heat-producing fixtures.
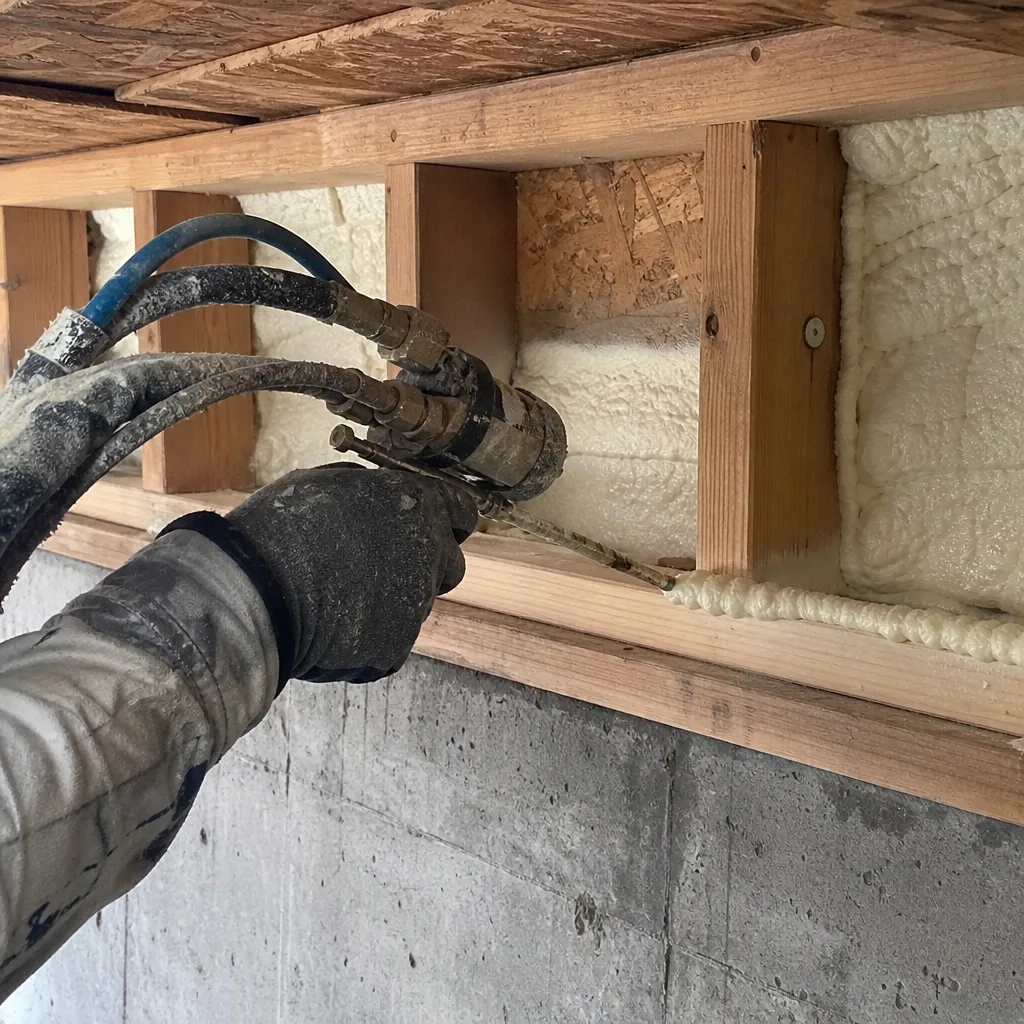
- Closed-cell spray foam (Icynene and comparable): the right call for cathedral ceilings, HVAC-in-attic homes converting off the vented model, and any attic where depth is constrained.
- Fiberglass batts: fine for walls; unreliable as an attic-floor primary because it’s prone to wind-washing and compression. Where they already exist, they’re often the source of underperformance we’re called to fix.
None of these choices matters if the envelope is still leaky. Material selection is the fourth decision, not the first. The Envelope Insulation Henderson home page summarizes the full sequence we follow.
What Documentation a Finished Job Should Produce
A finished attic job should leave you with a paper trail you can read on your own, weeks after the crew is gone. Ask for all four before anyone starts:
- Pre- and post-blower-door numbers in CFM50 and ACH50. If the contractor doesn’t run the “before” test, the “after” number means nothing.
- Thermal scan images. An infrared camera catches the cold spots and settled areas a blower door won’t tell you about. Before-and-after thermal images should be provided as part of the file.
- An installed-R certificate. A one-page sheet stating the material, the settled depth, and the R-value achieved – signed off by the installer. This is the proof of what’s actually in the attic.
- The written scope and warranty, delivered before work starts. Under Haven Standard Clause 1, the flat price, the scope, and the warranty are in writing before anyone lifts a tool, and the 365-Day Done Right Promise stands behind all completed work.
If your contractor’s finished job includes only a handshake and a verbal “you’re all set,” you’ve paid for a service you can’t verify.
What You Can Check Yourself vs. What Needs a Pro
Some inspection is safe for any homeowner. Some is not.
Safe to check yourself
- Measure insulation depth with a tape in three spots; compressed fiberglass under 6 inches is definitely underperforming.
- Feel for hot spots on the ceiling below the attic on a July afternoon – those are bypasses or missing coverage.
- Look at the attic hatch: is there insulation on top, and weather stripping around the opening?
- Check your utility bill against the same month last year.
Where you should stop and call a pro
- Anything involving the electrical panel, can lights, or wiring. A non-IC can light covered with the wrong insulation is a genuine fire hazard; sealing and covering it correctly is a licensed-trade task.
- Anything involving gas appliances, flues, or combustion air. Tightening a home without verifying adequate makeup air can backdraft a water heater – this is the single most common dangerous mistake in attic envelope work.
- Actual air sealing and insulation installation. Depth, density, and coverage are measurable but not eyeballable; getting it wrong the first time costs more than doing it right.
Radiant barriers, foil installation, and spray foam in particular should always be done by a trained crew. The savings from doing it yourself are rarely worth the risk of a combustion-air mistake or a covered can light.
Common Mistakes to Avoid
- Blowing insulation over unsealed bypasses. Every dollar of insulation placed over an open ceiling leak performs at a fraction of its label. Seal first, then insulate.
- Choosing a final R-value before a blower-door test. A home that reads 6,500 CFM50 needs sealing before a single inch of new insulation goes in.
- Skipping the deck-mounted radiant barrier when ductwork is in the top of the attic. In Henderson, this is one of the highest-return single line items on a vented attic with exposed ducts.
- Believing the manufacturer’s R-value. Compressed or wind-washed batts in a Henderson attic deliver R-8 when they claim R-19. Installed-R is what you pay for.
- Not asking for the “before” blower-door number. An “after” number with no baseline is not evidence of anything.
- Forgetting the attic hatch and pull-down stairs. These are often the single most expensive thermal and air leak in a Henderson home and cost a few hundred dollars to fix correctly.
- Assuming the national DOE R-value chart applies here. Henderson is zone 3B – the target is higher than the old national number because the summer load profile is different, not because the code is stricter.
When to Call a Professional
Call a professional if you’re seeing any of the following: attic air temperature that reads 140°F or higher on an afternoon in May, ceiling drywall that hums or whistles under pressure, a utility bill that has climbed 20% or more without a rate change, visible settled or compressed insulation under 6 inches, or an attic hatch that lacks an insulated cover. If a contractor’s written estimate contains no pre-test blower-door number or no installed-R certificate, that is exactly the scenario where a second opinion is warranted. Envelope Insulation Henderson offers free estimates in Henderson – call (844) 320-5338. We’ll do the blower-door test first, tell you what it reads, and price the work in writing before anything else happens.
Frequently Asked Questions
Most attic insulation jobs in a Henderson home of 1,800 to 2,400 square feet run $2,400 to $5,500 for a full seal-first-then-insulate scope, and $1,200 to $2,400 for air sealing alone. Radiant barrier as an add-on typically runs $1,200 to $2,800 depending on roof geometry. Spray foam on a cathedral ceiling runs higher per square foot because of material density. Call (844) 320-5338 for an exact quote based on your attic’s actual measurements and blower-door reading – the written price comes before any work starts.
For an existing vented attic in Henderson’s zone 3B climate, a practical floor is R-38 to R-49 after air sealing, with current Nevada code setting a similar minimum for new construction depending on the permit cycle. Cathedral ceilings usually max out at R-30 to R-38 given the depth available. The R-value target should always be set after the blower-door result, not before.
Yes, in the right attic. If your ductwork runs through the top two feet of attic air and the roof deck is exposed and unshaded, a deck-mounted foil radiant barrier typically pays back faster than any insulation add-on because it cuts the radiant load at the source. In an attic that’s being encapsulated with spray foam, or in a heavily shaded hip roof, the payback is usually too long to justify.
Ask for CFM50 and ACH50 in both before and after figures. Above 8 ACH50 the envelope is very leaky and needs sealing before insulation; 5 to 8 is typical of Henderson tract homes from the 1990s and 2000s; 3 to 5 is already reasonably tight. The meaningful number is the drop between the before and after readings – a 4,200 to 2,100 CFM50 reduction is a 50% cut in infiltration and is the actual evidence you paid for it. Call (844) 320-5338 to book a test-and-estimate visit.
You can safely inspect depth, look for obvious gaps, and evaluate your ceiling for hot spots, but installation should be done by a trained crew once electrical penetrations, can lights, flues, and combustion air are in play. A covered non-IC can light is a fire risk, and a home tightened without verifying makeup air for gas appliances can backdraft a water heater. The savings don’t cover the risk. Call (844) 320-5338 for a free estimate.
A typical Henderson attic insulation job – seal, insulate, and document – is one day for homes under 2,500 square feet and two days for larger homes or where radiant barrier is being added. Spray foam on a deck or cathedral ceiling is usually two to three days because of cure time between lifts. The blower-door test-and-estimate visit itself is under two hours.
The Bottom Line
Henderson attic work has a different physics than most national guides assume. Radiant heat load, not conductive cold, drives most of the summer problem, and the order of operations is fixed: seal the ceiling plane, decide on a radiant barrier based on duct and deck geometry, then insulate to R-38 to R-49 for a vented attic. The material choice – blown-in fiberglass, mineral wool, cellulose, or foam – is the fourth decision, not the first. Verify with a before-and-after blower-door pair, ask for the thermal scan and installed-R certificate, and require the written price and warranty before anyone starts. That’s the documentation that turns an insulation invoice into evidence you can read.
If you want a Henderson insulation contractor who will show you the numbers – blower-door readings, thermal images, and an installed-R sheet – call (844) 320-5338 for a free estimate. We’ll test first, write the price second, and deliver the photo record when we leave.
Written by the team at Envelope Insulation Henderson.