
Last updated November 17, 2026
The Complete Radiant Barrier Installation Guide for Henderson Homeowners
Henderson attics hit 155°F on a July afternoon. A properly installed radiant barrier can drop that number to 125°F, but only if the foil faces an air gap, and roughly 40% of installed barriers in this region are touching the material they’re supposed to reflect away from. That contact is the whole ballgame: a radiant barrier that touches insulation stops being a radiant barrier. This guide covers the physics, the correct positioning for a ventilated Henderson attic, the overlap and seam details that separate a performing barrier from a decorative one, and the before-and-after numbers you should expect to see on paper before the crew leaves.
Quick Answer
A radiant barrier works by lowering attic air temperature through low emissivity, not by adding R-value the way insulation does, so it has to face an open air gap of at least 1 inch (ideally 3 or more) to do anything. In Henderson’s climate the only correct installation is undersided rafter stapling, never a layover on top of existing attic floor insulation, because that traps heat and reduces the performance of both materials. A correctly installed job should drop peak attic air temperature by roughly 20 to 30°F and come with same-conditions before-and-after temperature readings so you can verify the delta.
Table of Contents

- How Radiant Barriers Actually Work (Emissivity, Not R-Value)
- Undersided Rafter Stapling vs. Floor Layover in Henderson
- The Air Gap Requirement: Why 1 Inch Fails and 3 Inches Performs
- Overlap, Seams, and Vent Clearances
- How a Barrier Interacts With Existing Blown-In Insulation
- Step-by-Step: What a Correct Henderson Installation Looks Like
- What the Post-Install Documentation Should Include
- Pairing a Radiant Barrier With Attic Insulation and Air Sealing
How Radiant Barriers Actually Work (Emissivity, Not R-Value)
Start with the one idea that determines every installation decision that follows: a radiant barrier doesn’t resist heat flow the way insulation does. It controls radiant heat transfer, and it does so through a property called emissivity, which is how much infrared radiation a surface gives off. Bare plywood roof decking has high emissivity, so it radiates absorbed solar heat straight down into the attic. A foil-faced barrier has very low emissivity, meaning it emits almost no infrared, and the heat that reaches it gets reflected rather than re-radiated into the space below.
This is why you’ll never see a radiant barrier advertised with an R-value. R-value measures conduction resistance, how well a material slows heat moving through it by contact. A radiant barrier doesn’t slow conduction at all; it interrupts radiation across an open space. That single fact explains why a foil product installed flat against a surface does almost nothing. There’s no open space for radiation to cross, so the reflective side has nothing to reflect and heat simply conducts through the foil into whatever it’s touching.
In our experience in Henderson, this is the most common misunderstanding we find on second-opinion walkthroughs. A homeowner paid for foil and sees it up there, but it’s stapled flush against the deck or draped over the blow-in, and the attic is still running north of 145°F in late July. The material is fine. The installation defeated it.
For the full envelope picture, radiant control is one component among several. If you’re working through the whole attic, our guide to Envelope Insulation Henderson home services shows where a barrier fits alongside air sealing and insulation.
Undersided Rafter Stapling vs. Floor Layover in Henderson

There are two ways to install a radiant barrier in an attic, and only one of them is correct for a ventilated Henderson attic: undersided rafter stapling. The foil goes on the underside of the roof rafters, following the roof line, facing down into the attic space. This puts the reflective surface where the heat source is, creates the air gap between foil and deck, and keeps the material clear of everything from blown-in insulation to stored boxes.
Floor layover, where the foil is rolled across the attic floor over the existing insulation, is common in retail products marketed as easy DIY and is the wrong approach here for three reasons:
- It traps heat. A foil layer over the blow-in acts as a lid, so heat that makes it into the insulation below has no path out. Attic air temperature may look better while the insulation itself runs hotter.
- It creates a moisture problem. Sealing the top of attic floor insulation with an impermeable sheet can trap moisture vapor moving up from the living space, which is a real concern during Henderson’s monsoon season when attic humidity spikes.
- It kills the R-value of the insulation beneath. Blown-in fiberglass or Rockwool relies on being able to shed heat; capping it compromises the performance you already paid for.
Undersided rafter stapling also keeps the foil flush with the ventilation path. In a well-built Henderson attic, soffit vents let cooler air in low and ridge vents or gable vents let hot air out high. Stapling to the rafters, rather than to the deck, leaves that path intact. For homeowners also dealing with floor-level issues, attic insulation in Henderson is where the conductive part of the problem gets solved.
The Air Gap Requirement: Why 1 Inch Fails and 3 Inches Performs
The air gap is where the barrier does its work. Minimum is 1 inch of clear space between the foil and any surface; 3 inches or more is where you see the full temperature benefit. A foil installed with an inch of gap will function, but the smaller the gap, the more the reflective surface gets compromised by dust bridging, contact from settled insulation, or just the shorter distance infrared has to cross.
In practical Henderson terms, undersiding the rafters with 3 or more inches between foil and roof deck is standard. It also gives you room to inspect the barrier later without moving it. We measure the gap as part of the walkthrough and note it in the scope, because a barrier installed with 3/4 inch of clearance in a spec sheet is not the same product as one installed with 3.
The gap requirement connects directly to ventilation. If the attic is short on intake or exhaust, hot air stalls and the barrier’s reflective surface gets bathed in already-hot air, which reduces the delta it can produce. Before any foil goes up, we check that soffit vents are open and unobstructed, that ridge venting is present and not blocked by a previous insulation job pushed too far into the eaves, and that bath fan or dryer exhaust ducting actually terminates outside the attic. That last one is a Henderson-specific headache: in a lot of 2010s-era builds in neighborhoods like Cadence and Inspirada, we find exhaust ducting dropping into the attic instead of out, which pushes moisture straight into the assembly the barrier is trying to protect.
Overlap, Seams, and Vent Clearances

The difference between a barrier that performs and one that’s essentially decorative comes down to seams. Foil product comes in rolls, and hot air finds every gap. Our standard for a Henderson attic:
- 2-inch minimum overlap on every course. Rolls are lapped by at least 2 inches and oriented so water shedding and radiant continuity are maintained.
- All penetrations taped. Every point where wiring, conduit, plumbing, or ductwork breaks the foil gets sealed with a foil-rated tape. Unsealed penetrations leak infrared straight through.
- Ridge vent clearance maintained. Foil stays back from the ridge vent opening so exhaust air is never choked.
- Soffit vent clearance maintained. Foil stops short of the soffit baffle so intake air still flows between rafters.
- Barriers not compressed near rafter ends. Insulation stays off the foil, and the foil stays off the insulation.
- Terminations at gables and end walls taped and cleaned. No ragged foil edges that catch wind or shed material over time.
Each of those items is a line on the scope before anyone gets on a ladder. When a barrier is installed without tape at penetrations, the temperature reading after may look improved overall, but the pockets of leakage defeat the purpose and often drive a homeowner to call us for a re-do a few years later.
How a Barrier Interacts With Existing Blown-In Insulation
This is where a lot of radiant barrier jobs go wrong in Henderson. The correct sequence is air seal first, then insulate, then consider a barrier, and the barrier never goes on top of the attic floor insulation. A foil installed over existing blow-in traps heat in the insulation below it, which raises the insulation’s operating temperature and reduces its effective performance. The attic air might read cooler while the ceiling assembly runs hotter than before.
Rafter-stapled installation avoids that trap entirely because the barrier and the insulation never occupy the same plane. The barrier works on radiation coming off the roof deck; the blow-in works on conduction at the ceiling plane. Each does its job without touching the other. That distinction matters in a climate with Henderson’s summer extremes, where an attic that touches 155°F on a July afternoon will already be pushing the blow-in to the edge of its performance envelope without a foil cap on top of it.
If you have existing insulation and are considering a barrier, the walkthrough should include a check on whether the blow-in has been compacted by moisture, rodent traffic, or a previous poorly installed barrier. If it has, the right sequence may be replacement of the insulation before a barrier goes up, not after. We’ve walked into Henderson attics where foil had been rolled over damp fiberglass, and the healthiest move was removal, air sealing, new insulation, and then rafter-stapled barrier in that order.
Step-by-Step: What a Correct Henderson Installation Looks Like

A properly executed job follows a documented sequence. Here is the one we follow on every barrier installation in Henderson:
- Pre-install attic condition assessment, with photo record. Deck type, existing insulation, ventilation, ducting, moisture, and any evidence of rodent activity. This is also when we check for hazards like compromised wiring or damaged roof sheathing.
- Baseline attic temperature reading. Taken at a stated time of day under stated ambient conditions, because a reading without those two data points is not a comparison, it’s a guess.
- Air sealing of the attic floor is completed first if any is being done as part of the job. There is no scenario where a barrier goes up and air sealing happens after.
- Foil cut and staged at the attic access, sized to the rafter runs with the correct overlap allowance.
- Undersided rafter stapling. Staples placed with a foil-safe stapler, tension even, no tearing.
- Overlaps, penetrations, and vent clearances finalized and taped. Checked against the scope line by line.
- Post-install temperature reading, taken at the same time of day and comparable ambient conditions to the baseline.
- Documented Photo Record and written completion packet delivered. Barrier, seams, vent clearances, temperature readings, and any incidental findings.
The safety note belongs here too. Attics are a genuinely hostile workspace in a Henderson summer: 155°F air, low headroom, hidden electrical, and roof structures not designed for people to walk on rafters casually. Barrier installation involves overhead work, ladders or scaffolding, and maneuvering around live wiring and ductwork – it is not a place for a homeowner to work from a step ladder in July heat. If you’re considering a do-it-yourself install, at minimum have the attic inspected for wiring, moisture, and ventilation by a trained professional first.
What the Post-Install Documentation Should Include
When the crew leaves, you should be able to point to specific evidence of what changed, not a verbal summary. The packet that a correct radiant barrier installation produces in Henderson includes:
- Attic temperature measurement before and after. Both readings taken at the same time of day, and both annotated with ambient outdoor temperature and sky conditions. Anything less is not a fair comparison.
- Photos of the barrier in place at rafter runs, overlaps, penetration taping, and vent clearances. Every seam, not a representative sample.
- The air gap measurement at representative points, written down.
- A written scope that matches what was actually installed. Product, coverage, overlap, taping, and any incidental repairs.
- Written warranty language covering the barrier installation itself.
What temperature delta should you expect? For a correctly installed undersided barrier in a Henderson attic on a July afternoon, a peak attic air temperature drop in the 20 to 30°F range is the realistic outcome. That’s an attic dropping from the mid-150s to the mid-120s. What you should not expect is a claim of a specific annual energy savings percentage in dollars; those numbers depend on the home, the HVAC system, and the ceiling assembly, and no honest contractor can guarantee them from the barrier alone.
Pairing a Radiant Barrier With Attic Insulation and Air Sealing
A radiant barrier alone is a partial solution, and it is most effective when paired with the rest of the building envelope done in the right order. Under Haven Standard Clause 1, we hold to a written price, written scope, and written warranty before anyone lifts a tool, and we hold to a sequencing rule: air sealing first, then insulation, then optional radiant control.
Air sealing comes first because a barrier doesn’t stop conditioned air leaving through the attic floor. Every can light, top plate, and wire penetration is a leak that no amount of foil above it will touch. Insulation comes next because a barrier doesn’t boost ceiling R-value. Then the barrier, rafter-stapled, works on the radiant load that the other two can’t address. On applicable jobs we publish a before-and-after blower-door reading so you can see the air-sealing result in a single figure.
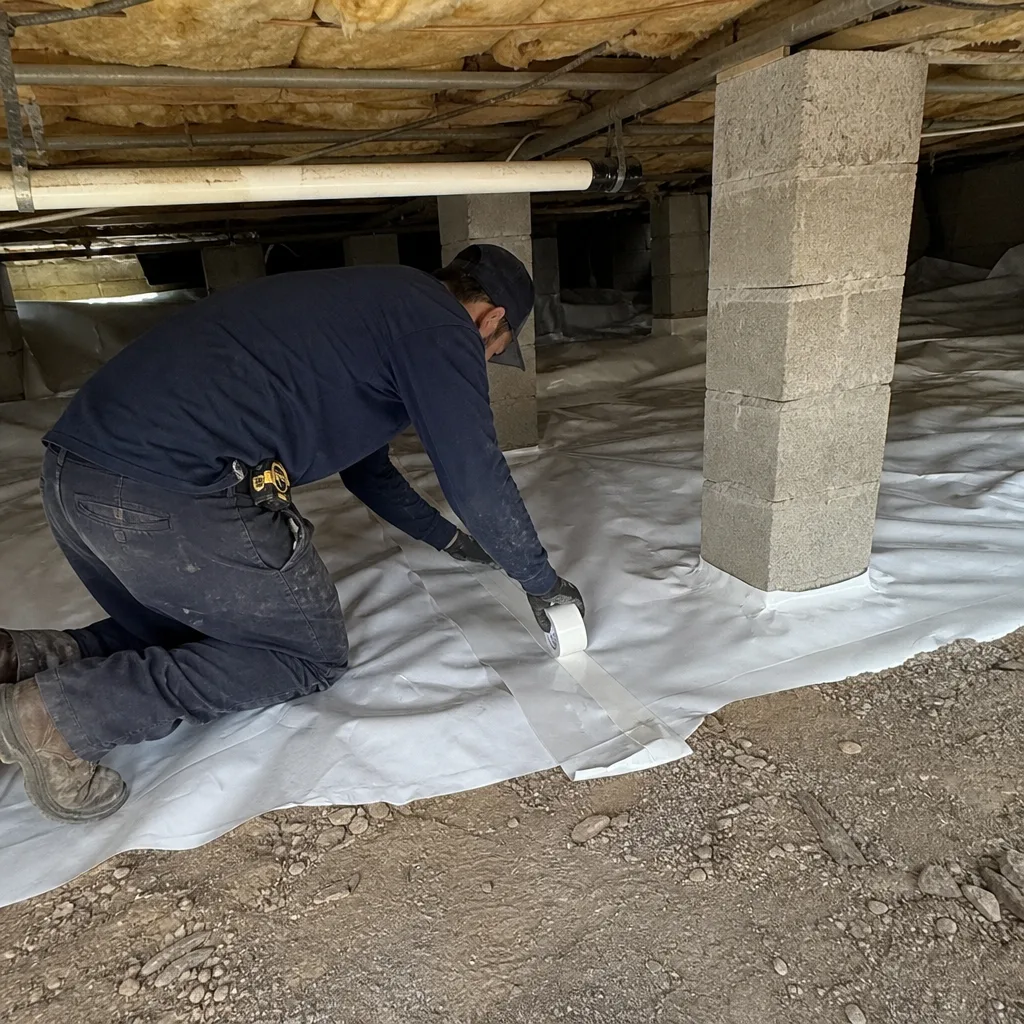
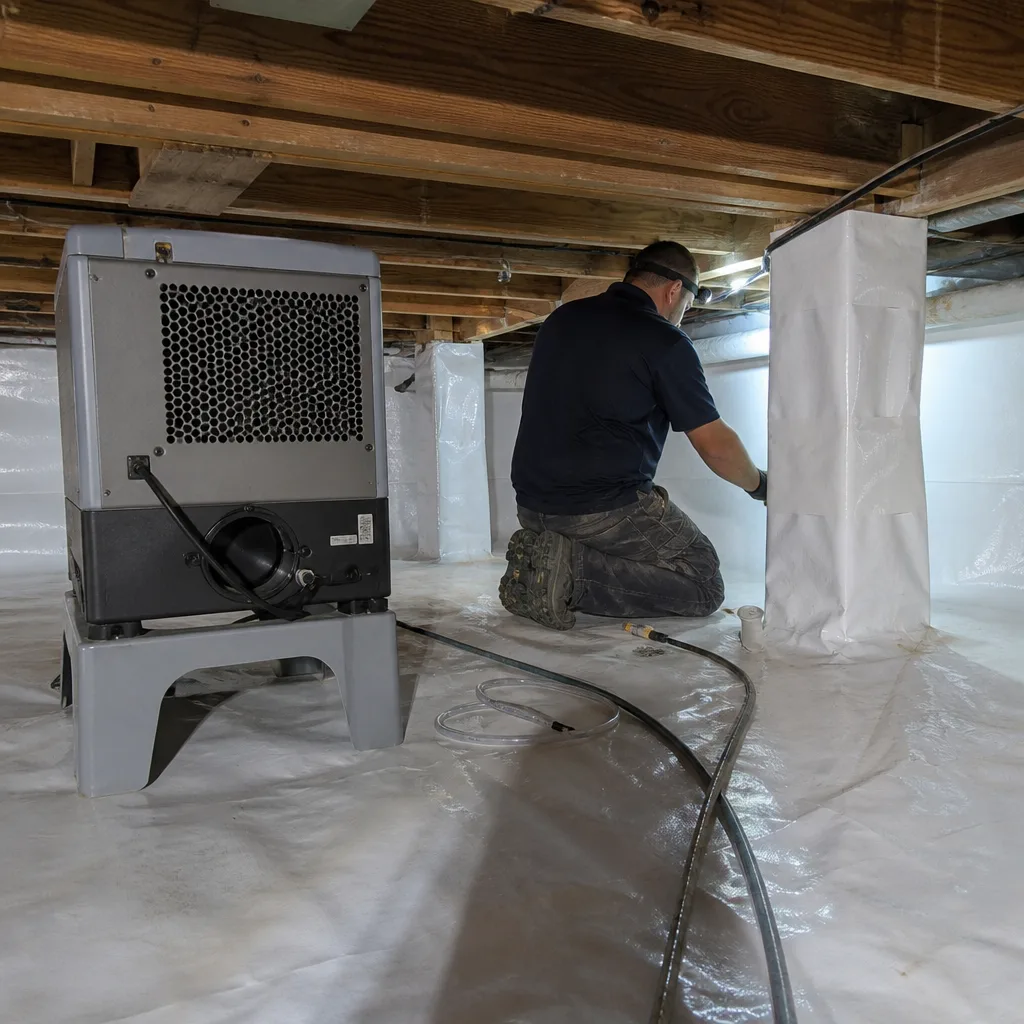
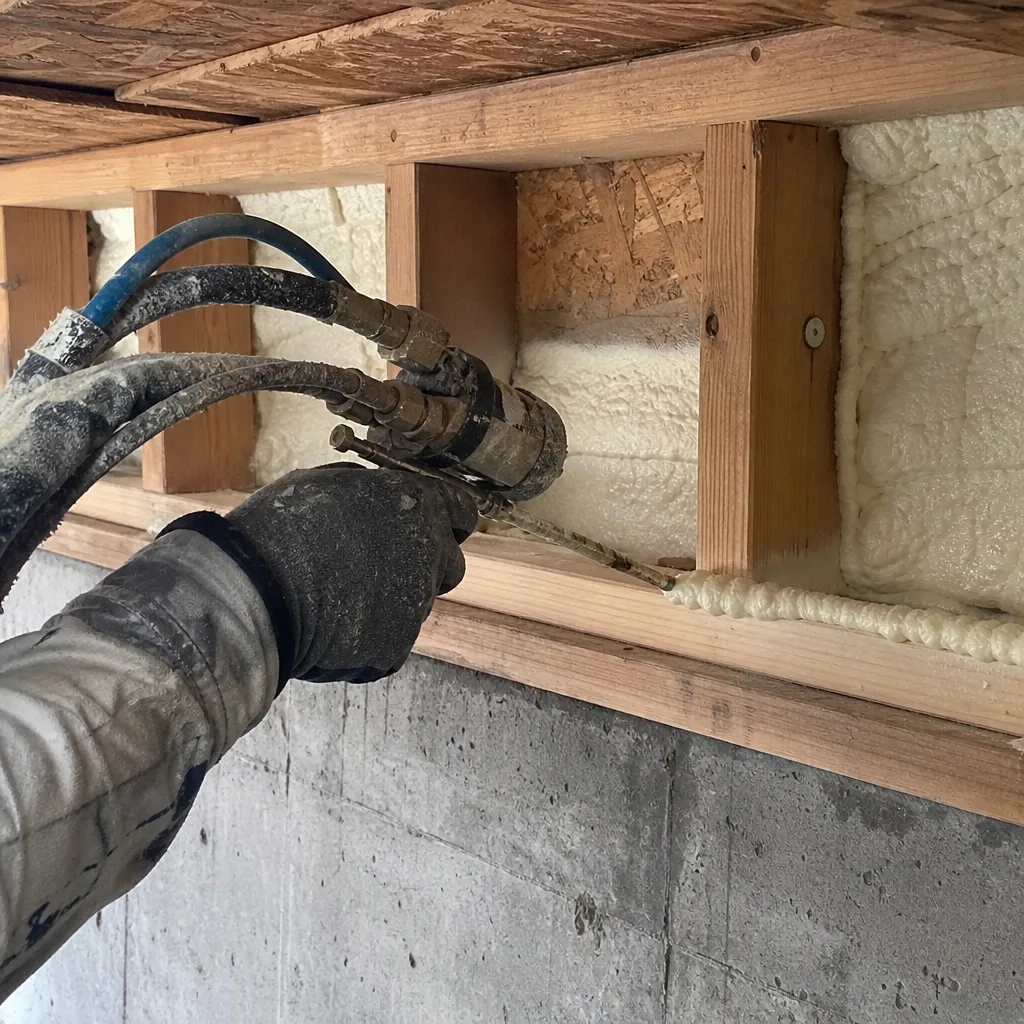
Where whole-assembly concerns exist – typically in Henderson homes with any crawl space or moisture history – crawl space encapsulation and vapor barrier work in Henderson addresses the lower half of the envelope while the attic work addresses the upper. For enclosed assemblies where air sealing and insulation need to happen together, spray foam insulation in Henderson is often the right tool, and we source from Icynene and Demilec along with Rockwool and CertainTeed, so the material is chosen for the assembly, not a brand arrangement. Our technicians have up to 10 years of experience, and every applicable job carries the 365-Day Done Right Promise.
Common Mistakes to Avoid
- Foil laid over existing blow-in insulation. This traps heat and can trap moisture. In Henderson’s monsoon season, that moisture has nowhere to go and ends up in the ceiling assembly.
- Foil installed flush against the rafter without an air gap. A barrier with 1/4 inch of clearance is a decorative layer of foil, not a radiant barrier. Minimum is 1 inch; 3 or more is correct.
- Skipping tape at penetrations. Unsealed penetrations leak infrared and let humid attic air into the wrong side of the barrier.
- Blocking soffit or ridge venting with foil. Ventilation and radiant control work together; choking either one compromises both.
- Installing a barrier in an attic with active rodent activity. Foil becomes nesting material and the installation gets damaged. Our attic insulation service in Henderson includes rodent proofing on the appropriate jobs because barrier work without it just creates a better home for the next generation.
- Skipping the temperature baseline. Without a before reading taken at the same time of day, you have no way to verify the after reading actually improved anything.
- Believing any barrier significantly boosts R-value. A barrier has no R-value. If a salesperson leads with R-value numbers, that’s the first warning sign.
When to Call a Professional
Some attic work is genuinely a professional call. If the attic has any evidence of rodent activity, compromised wiring, roof sheathing damage, or prior moisture problems, a trained technician should walk it before anything gets installed. If the attic temperature baseline hasn’t been taken, or if you’re comparing competing estimates and want a second set of eyes on a written quote, that’s a professional walkthrough. In our years of Henderson walkthroughs, the barriers that fail are almost never material failures; they’re sequencing failures – foil up before air sealing, foil over damp insulation, foil stapled too tight. Envelope Insulation Henderson offers free estimates in Henderson and a free second opinion on any written estimate. Call (844) 320-5338 to schedule a walkthrough, and you’ll get a written price before any work starts and a Documented Photo Record when it’s done.
Frequently Asked Questions
Radiant barrier installation in Henderson typically runs $1.50 to $3.50 per square foot of attic floor area depending on access, existing insulation, and whether it’s paired with air sealing. A 1,500-square-foot attic usually lands somewhere between $2,400 and $4,800 for a rafter-stapled install with full seam taping and vent clearances. Call (844) 320-5338 for an exact quote on your attic – estimates are free and the price is written before any work starts.
It should go on the underside of the rafters, never on the attic floor. Floor layover traps heat in the insulation below and can trap moisture during Henderson’s monsoon season. Undersided rafter stapling keeps the reflective surface facing the heat source with the correct air gap and leaves the floor insulation to do its own job.
No. A radiant barrier has no R-value because it doesn’t resist conductive heat flow; it works on emissivity, meaning it emits almost no infrared radiation. That single distinction is why contact with any other material defeats it and why the air gap matters more than the product label. If an estimate leads with R-value for a foil product, ask questions.
For a correctly installed undersided barrier in a Henderson attic on a July afternoon, a peak attic air temperature drop of roughly 20 to 30°F is the realistic outcome – from the mid-150s down to the mid-120s. The post-install documentation should include a before and after reading taken at the same time of day under comparable ambient conditions so the delta is verifiable. Call (844) 320-5338 to schedule a walkthrough and get a written estimate.
No. A radiant barrier over existing blow-in insulation traps heat in the insulation, raises its operating temperature, and can trap moisture vapor rising from the living space. The correct sequence in a Henderson attic is air sealing first, insulation second, and rafter-stapled barrier third, with the barrier and the floor insulation never occupying the same plane.
You can benefit from a radiant barrier even with good insulation because the two materials solve different problems. Insulation handles conductive heat transfer at the ceiling plane; a radiant barrier handles the radiant load coming off the roof deck. In a Henderson attic reaching 155°F in July, the radiant load is large enough that a correctly installed barrier still produces a measurable temperature drop even in a well-insulated attic. Call (844) 320-5338 if you want a second opinion on whether your existing insulation plus barrier makes sense.
The Bottom Line
The single idea that decides whether a radiant barrier in Henderson works or doesn’t is this: it operates on emissivity, not R-value, so it needs an open air gap and it needs to stay off the attic floor insulation. Undersided rafter stapling with a 3-inch-plus gap, a 2-inch overlap on every course, taped penetrations, and clear soffit and ridge venting are the difference between a barrier that drops attic air temperature by 20 to 30°F and one that just sits up there as foil. Pair it with air sealing and insulation in that order, and insist on before-and-after temperature readings taken at the same conditions so you can see what you paid for.
Written by the team at Envelope Insulation Henderson.