
Last updated November 17, 2026
Spray Foam Insulation Warning Signs Every Homeowner Should Know
If your spray-foam-insulated home is running the air conditioner in a pattern nearly identical to before the foam was installed, that is not normal settling-in behavior. It is a measurable result, and a blower-door test will show whether you are living in a house that never reached its promised ACH50 number. Failed foam rarely announces itself as failed foam. It shows up disguised as an HVAC capacity problem, a humidity complaint, or a musty smell in a hallway closet. This guide teaches you to read the performance signatures instead of the foam itself, and to know when a Henderson home needs a pressure test rather than another thermostat adjustment.
Quick Answer
The warning signs of spray foam insulation failure are performance-based first: cooling runtime that never dropped after installation, indoor relative humidity staying above 50% through the summer, room-to-room temperature swings that survive HVAC tuning, and persistent chemical odor in living space more than 72 hours after install. Physical signs found on inspection include foam pulling away from the top plate, discoloration behind closed-cell foam, and daylight visible at penetrations. A blower-door test, a pressurization reading that shows how much air your building envelope is losing in one number, is the only way to confirm whether the foam is actually sealing.
Table of Contents

- The Performance Warning Signs Nobody Warns You About
- Physical Warning Signs You Can See in the Attic or Crawl Space
- What Shrinkage Means for Spray Foam and How to Measure It
- The Odor Sign That Points to a Health Concern, Not Just a Performance One
- How to Request a Post-Installation Blower-Door Test
- What Documentation a Homeowner Should Ask For
- When Foam Can Be Repaired and When It Has to Come Out
The Performance Warning Signs Nobody Warns You About
Spray foam is sold on a performance promise. The contractor measures how leaky your house is before the work, quotes a target ACH50 (air changes per hour at 50 pascals of pressure), and the whole point of the job is to hit that number. When the foam goes in correctly, the effect shows up in your utility bill and, more reliably, in how your air conditioner behaves. When it doesn’t, your house keeps running the way it always did. Here’s what to watch.
- Cooling runtime didn’t drop. If your AC cycled, say, 14 hours a day before the foam and it’s still cycling close to that after, the envelope didn’t tighten the way it was supposed to. It’s the single most ignored sign of all.
- Indoor relative humidity above 50% in summer. A sealed house should be easier to dehumidify, not harder. Humidity climbing past 50% RH indoors during a Henderson July points to air still moving through the envelope.
- Room-to-room temperature spread. A 6 to 9 degree differential between a west-facing bedroom and the rest of the house, still there after you’ve had the HVAC balanced, means the problem isn’t the air handler. It’s the wall.
- Drafts at outlets and switches. Put the back of your hand near exterior-wall outlets on a windy evening. Any measurable rush of air means the air-sealing part of the job didn’t happen.
- Dust accumulation on the same surfaces. Foam that seals should slow the dusty air infiltration that stains light-colored tops of door frames and window trim.
None of these prove failure on their own. They tell you whether a pressure test is worth requesting. In our experience in Henderson, houses built from 2015 onward with foam in the attic but no verified sealing often show two or three of these at once.
Physical Warning Signs You Can See in the Attic or Crawl Space

Some failures are visible. You don’t need a pressure gauge to spot them, but you do need to get into the attic or crawl space and look carefully. Here’s what a trained inspector looks for, presented as a checklist you can walk through yourself. A flashlight and a phone camera get you most of the way.
- Foam pulling away from the top plate. Where the wall framing meets the attic floor, foam should bond to both surfaces. A visible gap or a curl means the seal is broken and air is leaking at your most important leak path.
- Color change behind closed-cell foam. Closed-cell foam is a vapor barrier. Moisture that gets trapped behind it leaves a darkening or greying stain. That’s moisture intrusion, not cosmetic.
- Daylight through foam at penetrations. Zip ties, wire runs, and plumbing boots that poke through the foam should be encapsulated. Light leaking around a penetration is air leaking around a penetration.
- Crumbling or powdery texture. Fresh foam should be firm and slightly resilient. Foam that crumbles at the touch has gone off-ratio or trapped moisture during cure.
- Sagging on the underside of the roof deck. Weighted or poorly adhered foam can droop. A sag is a structural concern in a high-desert climate where attic temperatures swing 90 degrees in a day. Henderson roofs see that kind of swing.
If your insulation project never included air sealing at the top plates, can lights, or wire penetrations, the foam was blown or sprayed over an unsealed floor. That’s not a foam problem. That’s a sequencing problem. Our attic insulation work in Henderson always starts with sealing before any material goes down, because we’ve seen what happens when it doesn’t.
What Shrinkage Means for Spray Foam and How to Measure It
Shrinkage in spray foam has a specific meaning. It’s the gap that opens between the edge of the foam and the framing it was sprayed against. As foam cures it can pull back slightly from the stud or joist. Small pullback is normal. The question is how much and where.
How to measure it: you need a tape measure and a straight edge, nothing exotic. Lay the straight edge across the framing bay, flush against the face the foam was sprayed to. Run the tape from the edge of the foam to the framing. Record the widest gap you find. Do this at six or seven bays in different parts of the attic.
Here’s how to read what you measured:
- Under 1/8 inch: normal cure pullback, not an air-seal failure on its own.
- 1/8 to 1/4 inch: marginal. Combined with visible daylight or a failing blower-door number, treat it as a leak path.
- Over 1/4 inch continuous: meaningful air-seal failure. This is the width at which we start treating the job as needing remediation, not just a touch-up.
- Any gap spanning a bay length: failure regardless of width. A continuous gap is a continuous leak.
A single quarter-inch gap doesn’t seem like much. Multiply it by the perimeter of every bay in a 2,000-square-foot Henderson attic and you’re looking at a cumulative leak path measured in square feet, not inches. That’s how a house runs the same AC schedule before and after foam.
The Odor Sign That Points to a Health Concern, Not Just a Performance One

Some signs are performance signs. One sign is a health sign, and it deserves its own chapter. If you smell a persistent chemical odor in the living space more than 72 hours after the installation, that is not curing odor. It is a sign the foam was mixed off-ratio.
Off-ratio mixing, in plain terms, means the two chemical components weren’t combined in the correct proportion. The foam may still look solid. It may even pass a visual inspection. But an off-ratio spray can leave unreacted components that continue to give off odor for weeks or months. Symptoms can include headaches, irritated eyes or throat, and a chemical smell that gets stronger when the house is closed up.
What to do if you’re experiencing this:
- Open windows and ventilate. Bring in outdoor air and run your HVAC fan continuously to move it.
- Document with dated notes. Record when the smell appears, which rooms, and under what conditions. Photos of a card with the date work fine.
- Leave the space if symptoms are significant. A headache that doesn’t go away after ventilation is a reason to see a doctor, not a reason to tough it out.
- Call the installing contractor and put it in writing. Ask for the mixing ratio records and the product data sheets for the specific Icynene or Demelec product used.
- Get a second opinion before accepting a “curing odor” explanation. A contractor who claims a smell is normal more than 72 hours after installation is describing a problem they’d rather not address.
We’re cautious about this one because it’s the one area where a spray foam project deserves more attention from the industry than it usually gets. Foam is a good product. It has also had real failures at installations where the mix was wrong.
How to Request a Post-Installation Blower-Door Test
A blower-door test is the only objective measure of whether the foam did its job. It’s a pressurization test in which a calibrated fan sits in an exterior doorway and depressurizes the house. The result is a CFM50 number, cubic feet per minute of air leakage at 50 pascals of pressure. You want the before number and the after number, both on the same paperwork. Here’s how to request it.
- Check your original scope. If the contract quoted a target ACH50, that target is a promise. If it didn’t, ask for the test now.
- Ask for the test in writing. An email or a text is fine. “I’d like a post-installation blower-door test and the before-and-after readings” is enough.
- Ask who tests. Some installers run their own blower door. Some use a third party. Either is legitimate. What matters is that the numbers are recorded and handed to you.
- Schedule it in mild weather. A test on a 105-degree afternoon in a Henderson home works, but the reading is cleanest when indoor and outdoor temperatures aren’t fighting each other.
- Read the report, not just the number. A meaningful result includes the before number, the after number, the target ACH50, and the date.
Every applicable job we do publishes both numbers for exactly this reason. You shouldn’t have to take a contractor’s word for it that the envelope tightened. Our spray foam insulation page for Henderson homeowners shows what that documentation looks like.
What Documentation a Homeowner Should Ask For

Documentation is how you turn “I think my foam is failing” into a case the installer and any future buyer will take seriously. Here’s the list we think every homeowner should walk away with. If you don’t have these items, ask for them now.
- Pre-installation blower-door reading, in CFM50. The starting number is the only way to know what improvement was actually achieved.
- Post-installation blower-door reading, in CFM50, with the target ACH50. One number without the other is a story with one page.
- Material data sheets for every product sprayed. Ask for the specific product by name. Icynene, Demelec, Rockwool, and CertainTeed all publish technical data and off-ratio guidance.
- Photos of the air-sealing before the foam went in. Top plates, can lights, penetrations. If you can’t see the seal under the foam, you can’t verify it.
- Written scope and written warranty, delivered before work started. Under our Haven Standard, this is Clause 1. No work starts without it.
- A dated invoice that names the products and the scope, not just a total. This is what a future home inspector or buyer will want.
If your install never produced these items, don’t assume that means the job failed. It means the job was never verified. That gap is worth closing with a fresh test, especially on a Henderson home that has already been through a summer or two.
When Foam Can Be Repaired and When It Has to Come Out
Not all failures require removal. Small pullback, minor gaps at a penetration, or foam that’s simply missing over a top plate can usually be repaired by topping off the defective area, re-sealing the adjoining air paths, and re-testing. That’s the affordable path.
Removal is the answer in a narrower set of cases:
- Off-ratio foam that’s producing persistent odor. Bad mix can’t always be fixed in place. Removal and re-installation by a foam crew using metered equipment is often the only reliable fix.
- Foam that’s trapped moisture against a wood structural member. If a joist or rafter has been sitting under trapped moisture, the wood has to be assessed and the foam removed before moisture problems become structural ones.
- Foam that prevented proper attic ventilation in a Henderson home. The combination of a high-altitude desert climate and incorrect foam placement at the soffit or roof deck can create condensation problems that no patch will fix.
Between those two extremes there’s a middle category: foam where the problem isn’t the foam at all, but the leak paths it never sealed. Re-sealing the air leaks and re-running the blower door often recovers most of the promised performance without removing the foam.
Common Mistakes to Avoid
- Treating the first cooling season as a settling-in period. It isn’t. If your AC runtime didn’t drop the first summer after installation, it’s not going to drop on its own. Get a blower-door reading.
- Blaming the HVAC for a room-to-room temperature problem. Newer Henderson builds often need a thermostat adjustment after insulation work, but if the swing survives balancing, the problem is the envelope. A blower-door test tells you which.
- Trusting a visual inspection as proof of performance. Foam can look perfect and fail a pressure test. It can also look slightly uneven and pass. The number, not the look, is the verdict.
- Accepting a “curing odor” explanation beyond 72 hours. Curing odor is short-lived. Persistent chemical odor in living space after that window is a mix problem, not a curing one.
- Blowing new insulation over foam in the attic. If the original job never sealed the top plates, adding another layer of anything doesn’t fix the leak path. Seal first, insulate second.
- Skipping a second opinion because the first contractor is responsive. Responsiveness isn’t the same as documentation. Ask for the blower-door readings and the written scope. If they can’t produce them, get a second read.
- Assuming a Henderson attic needs the same foam spec as a coastal build. Our climate runs hot and dry. Foam that works well on a coast can behave differently here if the vapor profile wasn’t planned for. Ask about the climate zone in your scope.
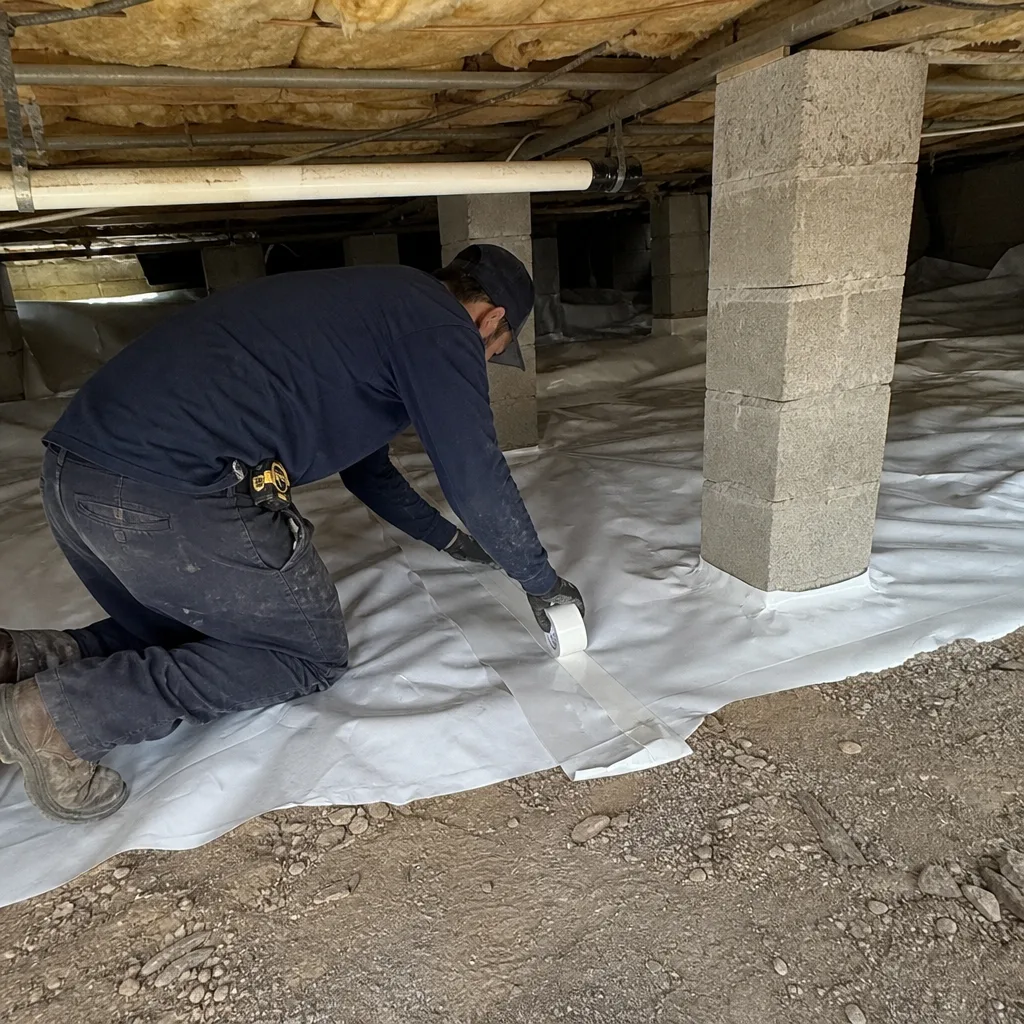
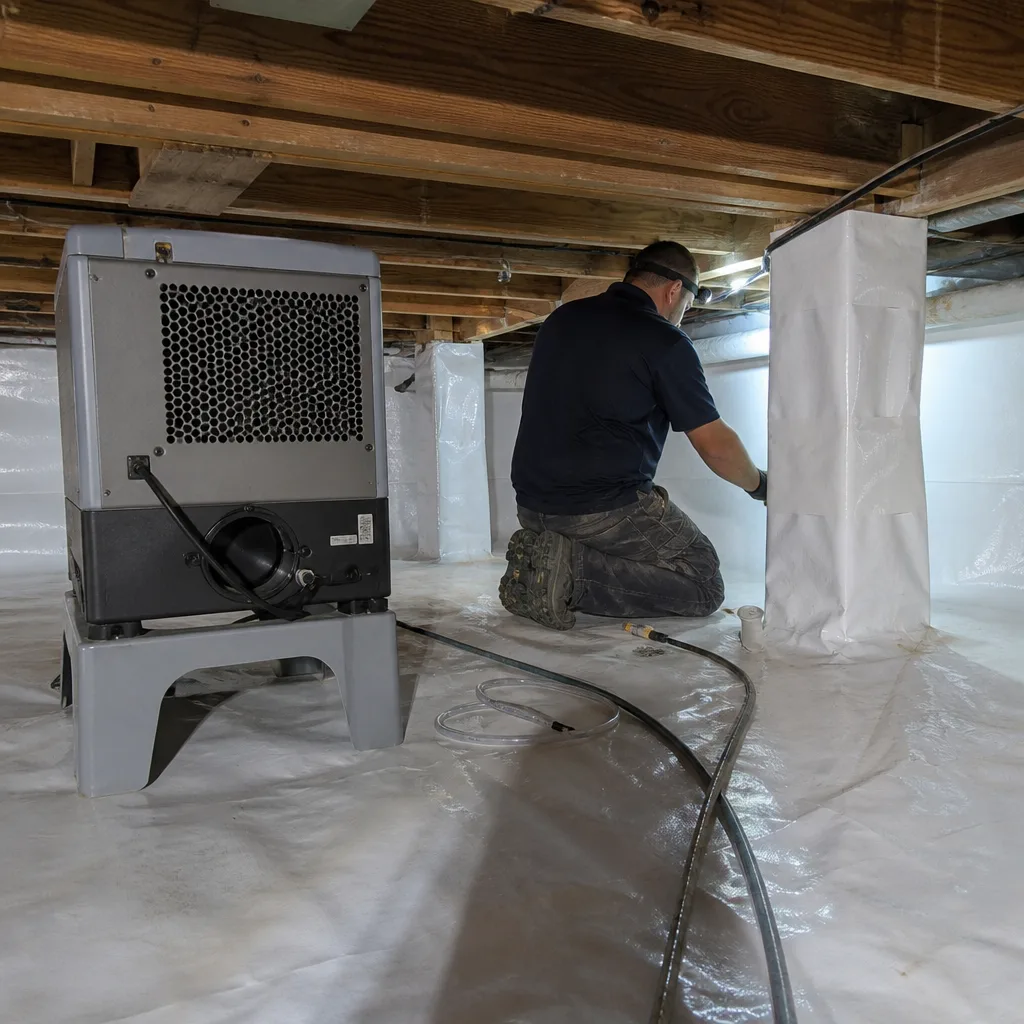
If your crawl space was part of the original foam job, our crawl space encapsulation and vapor barrier work in Henderson is where we most often see foam that never got verified against a vapor barrier.
When to Call a Professional
Call a professional if you can see any of the physical warning signs with your own eyes: foam pulling away from the top plate, a gap over a quarter inch running a bay length, or daylight through a penetration. Call immediately if there’s persistent chemical odor in living space more than 72 hours after installation. And call if your performance signs stack up, meaning two or three of the following are true at once: your AC runtime hasn’t dropped, humidity stays above 50% in summer, and the temperature spread between rooms hasn’t changed after HVAC tuning. Those are the honest thresholds. Below them, most homes are fine. Above them, a pressure test is worth the cost of confirming.
Envelope Insulation Henderson offers free estimates in Henderson. Call (844) 320-5338 and we’ll bring a blower door and a written scope. Bring us any competing estimate and we’ll read it with you, too. Free second opinions on any written estimate, no strings.
Frequently Asked Questions
ACH50 is air changes per hour at 50 pascals of pressure, the standard metric a blower-door test produces for how leaky a house is. A lower ACH50 means a tighter envelope. Henderson homes built 2015 to 2025 typically target ACH50 in the 2.5 to 4 range with foam, and a well-sealed job usually lands closer to 2.5. If your post-install number is well above that, the foam isn’t performing the way it was sold. Call (844) 320-5338 and we’ll test and document it.
Yes. Foam can look solid and still fail a blower-door test because it wasn’t sprayed over a properly air-sealed floor, or because small gaps at penetrations add up. Visual inspection is a starting point, not a verdict. A blower-door reading is the only objective check. Estimates for a diagnostic visit are free, and a fresh reading tells you what the install didn’t.
Fixing failing spray foam in Henderson typically runs in one of three buckets. A patch-it-up repair where we re-seal defective areas and re-test runs several hundred to low four figures. A full re-seal of the attic floor with new foam runs higher, into the low-to-mid four figures depending on square footage. Full removal and re-installation of off-ratio foam is the highest tier and depends on how much material comes out. We put a written price before any work starts, always. Call (844) 320-5338 for a free estimate on your specific job.
It can be. Persistent chemical odor in living space more than 72 hours after installation is a sign of off-ratio mix, meaning the two components weren’t combined in the correct proportion. If you’re getting headaches, irritated eyes, or a smell that’s stronger when the house is closed up, that’s a health concern, not a performance one. Ventilate, document, and call us or another contractor for a second opinion before accepting a “curing odor” explanation. Free estimates on any inspection.
Indoor relative humidity above 50% in a Henderson summer after a spray foam job usually means the envelope is still leaking air. Dry desert air shouldn’t leave a sealed house humid. Two common culprits: the top plate was never sealed under the foam, or crawl space moisture wasn’t addressed. A blower-door test will show which. Call (844) 320-5338 and we’ll run one and give you a written price before any work starts.
Ask for it in writing. An email or text saying “I’d like a post-installation blower-door test with before-and-after readings” is the standard request. If your installer won’t test, a second contractor can. Bring us any written estimate from another contractor and we’ll read it with you. Every applicable job we do comes with both numbers, published, and a free second opinion on any written estimate. Call (844) 320-5338 for a documented photo record and a written scope before any test.
The Bottom Line
Spray foam failure hides behind the performance of your house, not the appearance of your foam. Watch the cooling runtime, the indoor humidity, and the room-to-room temperature spread. If those three symptoms get past the thresholds laid out here, the answer is a blower-door test, not another thermostat adjustment or another layer of insulation. Watch for the physical signs too: pullback, discoloration, daylight at penetrations. And treat persistent chemical odor past 72 hours as a health sign, not a performance one. A quarter-inch gap at your top plate is a measurable leak. ACH50 is the number that proves whether the foam delivered what it promised.
Envelope Insulation Henderson is the only insulation contractor in Henderson that treats air sealing as a hard prerequisite and publishes before-and-after blower-door numbers on every applicable job, with a written price before any work starts and a documented photo record when we leave. Our technicians have up to 10 years of experience, and every job is backed by our 365-Day Done Right Promise. If it’s not done right, we make it right. Whether you’re deciding between sealing and re-insulating, or you just want a second read on an estimate, we’ll look at it with you. Visit our Envelope Insulation Henderson home page to see the full service line, or call (844) 320-5338 for a free estimate. A live person answers, 24/7.
Written by the team at Envelope Insulation Henderson.