
Last updated November 17, 2026
How Long Does Blown-In Insulation Take? Timelines and What to Expect
Contractors who quote “one morning, done by noon” are telling you the blower time. They’re not telling you what happens to that R-38 when the top-plate bypasses underneath it are still open. A 2,000 square foot attic genuinely tops out at about three hours of machine time, but that number floats free of the work that makes insulation perform: sealing the leaks first. In this guide, we break the honest timeline into three phases, explain what legitimately stretches a job, and describe the documentation you should walk away with. We’ve run these jobs across Henderson, and the difference between a fast install and a lasting one comes down to the sequence.
Quick Answer
A standard blown-in attic insulation job takes roughly 4 to 9 hours of total crew time from arrival to final documentation. That breaks into 1 to 2 hours of assessment and a baseline blower-door reading, 2 to 4 hours of air sealing, and 1 to 3 hours of actual insulation blowing. Skipping the middle phase is faster and also how a one-day job turns into a problem that takes years to show up on your energy bill.
Table of Contents

- The Three Phases of a Realistic Timeline
- Phase by Phase: What Each Step Actually Involves
- What Legitimately Extends a Job
- The Documentation Step and Why It Adds Time
- Henderson Conditions: Heat, Season, and Attic Temps
- What “Ready for the Crew” Actually Means
- Common Mistakes to Avoid
- Frequently Asked Questions
The Three Phases of a Realistic Timeline
Most of the timelines you read online describe only the final phase. The install itself. That’s the visible part, the part that makes a satisfying before-and-after photo, and it’s the shortest stretch of the day. A complete job has three phases, and each one earns its place.
Here’s how the hours typically fall on a standard single-story Henderson home with a 1,800 to 2,200 square foot attic:
- Pre-work assessment and baseline blower-door test: 1 to 2 hours
- Air sealing of the attic floor: 2 to 4 hours (depends on penetration count)
- Blown-in installation: 1 to 3 hours for a standard attic
- Post-install documentation: 30 to 45 minutes
Add those up and you’re looking at a 5 to 9 hour day in most cases. On a straightforward ranch home with few recessed cans, a crew can compress that to the low end. On an older property with denser penetrations, the upper end is more honest.
The reason we’re precise about this is that a written price before any work starts depends on knowing the scope. A contractor who promises “three hours, flat” without measuring your attic is guessing at the sealing load. That guess shows up later, either as a surprise line item or as an unsealed job.
Phase by Phase: What Each Step Actually Involves

Phase 1: Assessment and Baseline (1 – 2 hours)
The first hour is diagnostic. A technician measures existing insulation depth at multiple grid points, checks for moisture or pest evidence, photographs the attic floor, and performs a blower-door test: a pressurization reading that shows, in one number, how much air your building envelope is losing. That baseline matters because it becomes the “before” number you can hold the contractor to.
On a typical Henderson ranch built in the 1990s, we’ve seen baseline readings anywhere from 3,500 to 5,500 CFM50. The figure is less important than the post-sealing comparison. A blower door takes 30 to 45 minutes to set up and run properly, including pressurizing the house, walking the envelope with a thermal camera or smoke pencil, and logging the leaks the crew will target.
Phase 2: Air Sealing (2 – 4 hours)
This is the phase that gets skipped. Top plates, can lights, plumbing and electrical penetrations, the attic hatch, and any chases running from the living space all get sealed with caulk, foam, or rigid blocking before a single bag of insulation is loaded. A house with ten recessed lights will run faster than one with forty. Balloon-framed older homes have more top-plate exposure, so they take longer.
Sealed first, then insulated. In that order, every time. Blowing insulation over an unsealed attic floor is like putting a lid on a pot with holes in the sides – the steam still escapes. Under attic insulation in Henderson, sealing is not optional; it’s the foundation of the performance claim.
Phase 3: Blown-In Installation (1 – 3 hours)
Now the machine runs. Depending on the product – we source from Johns Manville, Knauf, and CertainTeed among others – the crew feeds bags into a hopper, runs the hose, and builds depth to the target R-value. Most Henderson attics land between R-38 and R-49, which corresponds to roughly 12 to 16 inches of blown fiberglass or cellulose.
Depth markers are placed before blowing begins so the crew can check coverage in real time rather than estimating at the end. A 2,000 square foot attic runs about three hours of machine time; a 1,200 square foot attic closer to an hour and a half.
What Legitimately Extends a Job
Not every attic is a clean rectangle. Several structural and mechanical conditions push the timeline out, and a contractor who doesn’t flag them up front is either guessing or upselling later:
- Hip roofs with multiple valleys add netting time. Each valley requires baffles and netting to hold the blown product against the slope, and that work happens before the blower starts.
- Older homes with balloon framing have more top-plate exposure and interior chases that need individual sealing. A 1940s Henderson bungalow can add an hour or more.
- More than four recessed cans per 100 square feet means individual air sealing at each fixture, using an approved cover. Twenty cans add real time.
- Knee walls and low-clearance slopes require hand-blowing in spots the hose can’t reach efficiently.
- Existing insulation removal, if the old material is contaminated or pest-damaged, adds a phase before anything new goes in.
When we write the scope, each of these is priced and timed on paper. That way the homeowner knows the real day, not a best-case version of it.
The Documentation Step and Why It Adds Time

The last 30 to 45 minutes are the part that gets left out of most timelines, and it’s the part that matters most to a homeowner who researched contractors before calling anyone.
Documentation runs as a sequence:
- Depth verification. The technician measures insulation depth at multiple grid points – not one spot near the hatch – and photographs the ruler against the product.
- Final blower-door test. The house is re-pressurized and the new CFM50 reading is logged next to the baseline. Side by side, they show the actual performance change.
- Photo record. Attic access, sealed penetrations, depth markers, and finished coverage are all photographed as a documented record the homeowner keeps.
- Written close-out. The scope, the readings, and the warranty are handed over in one packet.
Thirty to forty-five minutes sounds like padding until you’ve seen a job with no readings at all and no photos of what’s under the new product. That’s the job you can’t verify. Under The Haven Standard since 2016, we include the documented photo record on every visit rather than making it available on request.
Henderson Conditions: Heat, Season, and Attic Temps
Henderson’s climate changes the working timeline in ways a national guide won’t tell you. July attic temperatures commonly hit 110°F or higher by mid-morning, which affects crew scheduling and equipment.
In summer, crews start earlier – often on site by 6 a.m. – to get the sealing phase done before peak heat. The blower runs faster in some ways because the product flows easily, but equipment cooling requirements add setup time. Compressors and hoppers need shaded staging and periodic rests, and technicians rotate through the attic to avoid heat stress. In practice, a July job in Green Valley or Anthem runs about the same total hours as a January job, but the shape of the day is different: front-loaded, with longer mid-day pauses.
Winter and spring are the forgiving months. Crews work at a steady pace, and the sealing phase moves faster without the heat exposure. If you’re flexible on timing, we’ve seen jobs in the 50s and 60s complete at the low end of every phase range. The tradeoff is that spring is a busy season, so the calendar fills earlier.
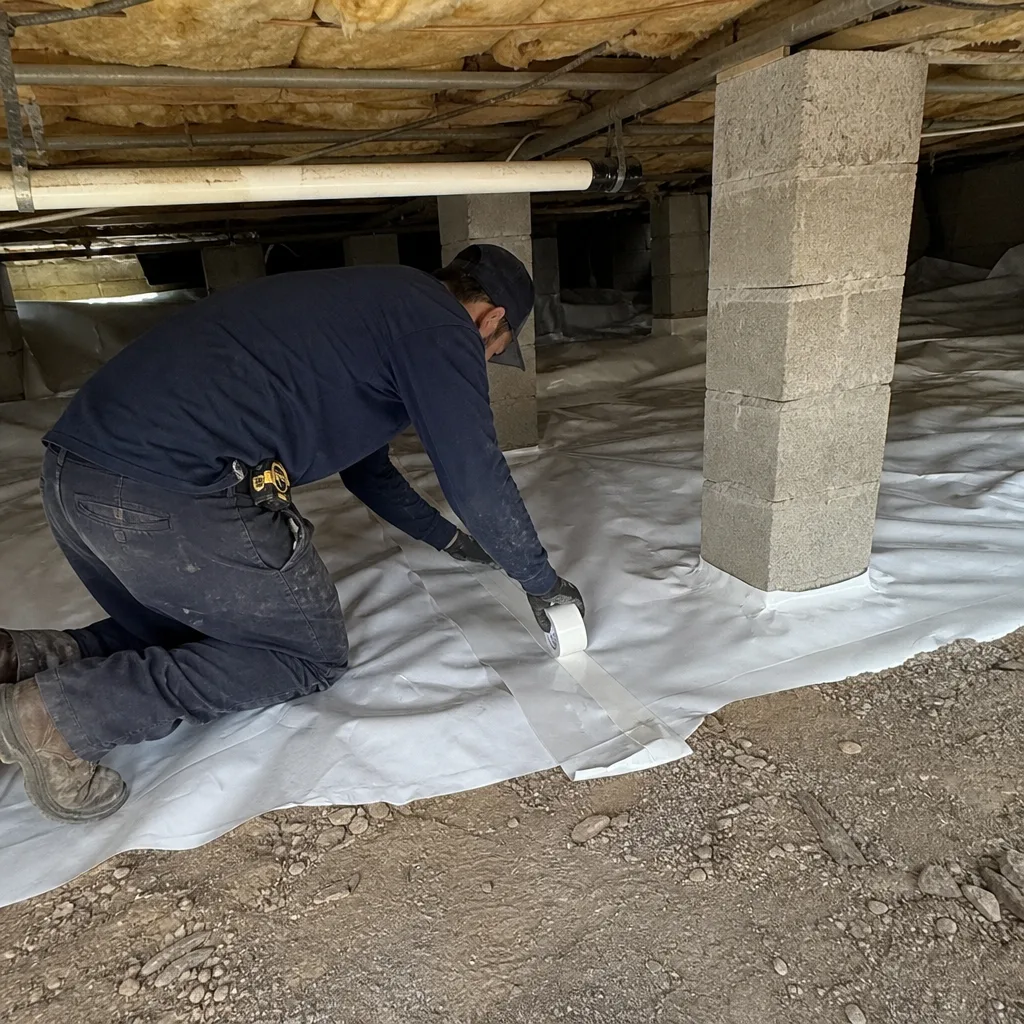
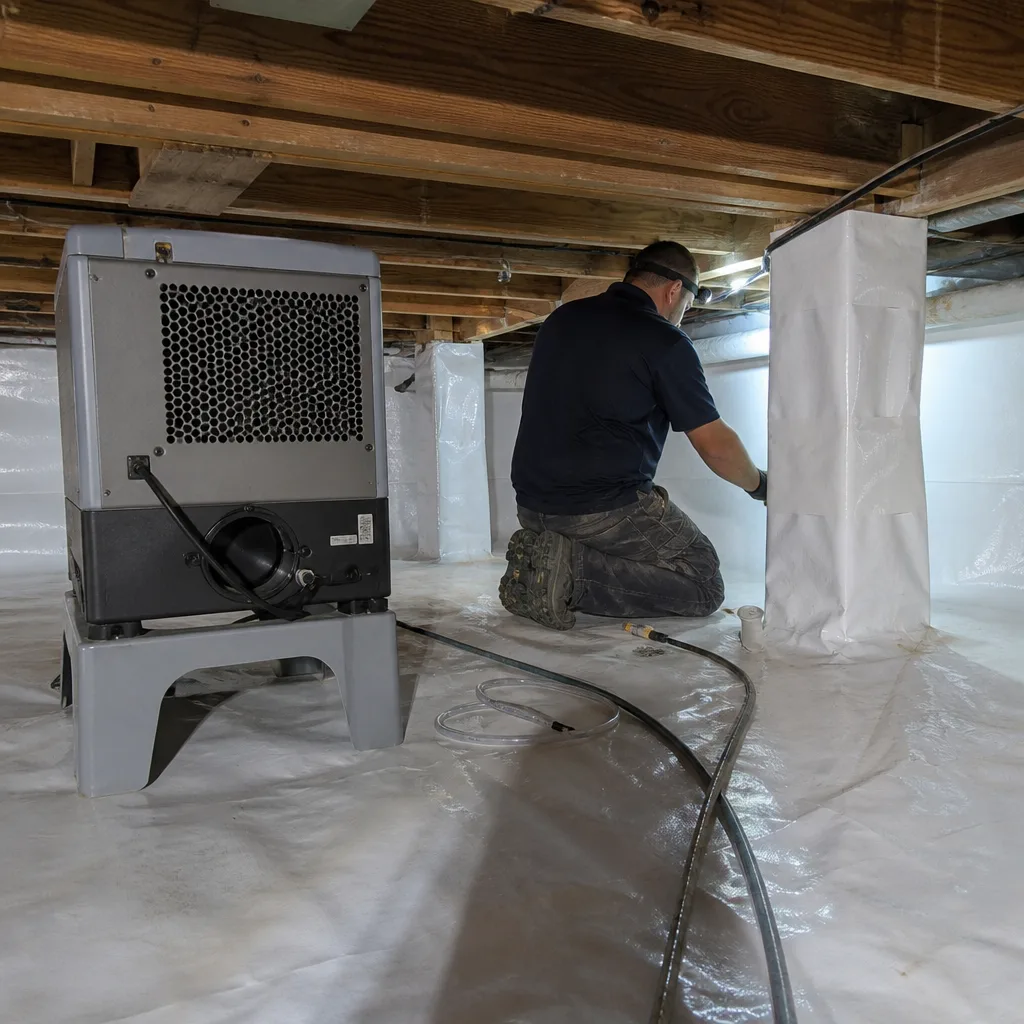
If you’re also addressing the crawl space – a common pairing in Henderson’s dry climate – crawl space encapsulation and vapor barrier work in Henderson adds its own timeline and is usually scheduled as a separate day.
What “Ready for the Crew” Actually Means

The single biggest gift you can give the schedule is preparation. Fifteen minutes of homeowner setup can shave an hour off the day. Here’s the checklist we hand over before any insulation visit:
- Clear attic access. Move boxes, holiday decor, and shelving away from the hatch or scuttle. If access is in a closet, clear the floor under it.
- Switch HVAC off. The system stays off for the duration – sealing and blowing both create fine debris that you don’t want circulating.
- Secure pets. Crews carry hoses and equipment in and out of the house repeatedly. A closed door on the pet is safer for everyone.
- Move vehicles. The blower truck or van needs driveway access to the equipment staging area.
- Note any access quirks. A sticky hatch, a low-clearance closet, or a ladder-only scuttle should be mentioned when the estimate is written, not discovered on the day.
Homeowners who run this checklist usually see the job finish inside the quoted window. When they don’t, the crew is absorbing time that was never priced.
Common Mistakes to Avoid
- Accepting a quote that skips air sealing. If the proposal doesn’t include sealing the top plates and penetrations, the R-value claim is theoretical. Insulation slows heat transfer; it doesn’t stop air movement.
- Choosing the lowest bid without checking the scope. Two quotes can look identical in price and differ entirely in what’s actually being done. Ask for a free second opinion on any written estimate and read it side by side.
- Ignoring summer heat scheduling. A crew that arrives at 10 a.m. in July and tries to work a full day in a Henderson attic is a crew cutting corners. Early starts matter.
- Skipping the blower-door baseline. Without a “before” reading, you can’t verify the “after.” The number is the proof.
- Leaving the attic cluttered. Obstacles at the access point add time and reduce the crew’s ability to work efficiently and safely.
- Assuming more insulation fixes everything. If the problem is air leakage, adding product over unsealed penetrations won’t move the needle much. Spray foam insulation in Henderson is one path for certain envelope problems, but sealing happens first regardless of the product.
- Not getting the documentation in writing. Verbal promises about R-value, coverage, and follow-up are worth exactly what’s on paper. Haven Standard Clause 1 exists because we’ve seen what happens when the record lives only in someone’s memory.
When to Call a Professional
Blown-in insulation is not a homeowner DIY project. The equipment (blower, hose, hopper, protective gear), the safety concerns (attic heat exposure, electrical hazards, and structural footing), and the diagnostic work all require a trained crew. Call a professional if you’re seeing high energy bills, if your attic has visible insulation below R-30, if you notice air movement around recessed lights or the attic hatch, or if you’re planning a home envelope upgrade in Henderson and want a real performance number rather than a guess.
Envelope Insulation Henderson offers free estimates in Henderson – call (844) 320-5338 and we’ll talk through the scope before you commit to a date.
Frequently Asked Questions
A 2,000 square foot attic runs roughly 4 to 9 hours of crew time from arrival to documentation. The blower phase is about 1 to 3 hours; the air sealing, assessment, and final verification fill out the rest of the day. Call (844) 320-5338 for an exact window based on your attic.
Yes. Air sealing comes before insulation in any job we perform, and skipping it is the most common reason insulation underperforms. Blowing over open top plates, can lights, and plumbing penetrations leaves the attic floor leaking air under the new product. We won’t blow insulation over an unsealed floor.
Most standard Henderson attics are a one-day job from an early-morning start to a midafternoon close-out. The exceptions are attics that need existing insulation removal, heavy air sealing on older balloon-framed homes, or combinations with crawl space work. Those get scheduled on a case-by-case basis.
Yes, but mostly in shape rather than total length. July attic temperatures push crews to an early start and add equipment cooling time. Total hours land in the same range; the working day just front-loads. Winter and spring jobs run at the low end of every phase.
You should have the written scope with R-value target, the baseline and final blower-door CFM50 readings, photographs of sealed penetrations and finished coverage, and the written warranty. Under the 365-Day Done Right Promise, if it’s not done right we make it right – but the documentation is what makes that claim checkable.
Most blown-in attic jobs on a 2,000 square foot attic in Henderson run between $1,800 and $3,400 including air sealing, depending on penetration count and R-value target. Call (844) 320-5338 for a written price before any work starts – estimates are free.
The Bottom Line
The honest answer to “how long does blown-in insulation take” is 4 to 9 hours on a standard attic, with the blower itself accounting for only 1 to 3 of those hours. The rest – the assessment, the air sealing, the final blower-door reading, and the photo record – is what separates a fast job from a durable one. In Henderson’s heat, crews work earlier in summer and easier in winter, but the sequence stays the same. Sealed first, then insulated, every time. A written price before work starts and a documented record when we leave. That’s the job that holds.
Call Envelope Insulation Henderson at (844) 320-5338 for a free estimate and to schedule a walkthrough of your attic.
Written by the team at Envelope Insulation Henderson.