
Last updated November 17, 2026
Spray Foam Insulation Maintenance Schedule: What to Do and When
Spray foam doesn’t compress, settle, or soak up water the way fiberglass batts do. That’s the good news. The thing it does do, especially in a Henderson attic that swings from 160°F in August to 40°F in January, is develop hairline cracks at the seams where it meets wood, wiring, and plumbing. You won’t see them. You’ll see the result on your power bill eight months later. This guide lays out a realistic maintenance schedule built around what actually degrades in Henderson’s climate, what you can check yourself, and what needs a blower-door reading to confirm.
Quick Answer
Spray foam insulation in Henderson needs a visual inspection once a year and a professional blower-door check every three to five years. The two moments that matter most are right after the first sustained heat wave each summer and right after any renovation that opens the attic. Between those, a homeowner should do a quick walk-through twice a year looking at foam surfaces, penetration seals, and the seam where foam meets the top plate. Most spray foam in Henderson holds up well for a decade or more, but the failures that do happen start small and cheap and get expensive fast.
Table of Contents

- Why Spray Foam Fails Differently Than Other Insulation
- The Two Henderson Inspection Triggers
- What You Can Check Yourself vs. What Needs a Blower Door
- How to Track Foam Performance Using Utility Data
- UV Degradation and the Exposed Foam Problem
- The Paperwork You Should Keep From Installation
- Maintenance After a Renovation Opens the Attic
- The Year-by-Year Schedule at a Glance
Why Spray Foam Fails Differently Than Other Insulation
Most insulation failures are obvious. Fiberglass sags. Cellulose settles. Batts get wet and stay wet. Spray foam doesn’t do any of those things, which is exactly why it’s marketed as install-and-forget. But “different from other insulation” isn’t the same as “inert.”
Spray foam is a rigid plastic that bonds to whatever it’s sprayed against. That bond is mechanical, not chemical. When the substrate moves, the foam doesn’t move with it cleanly. In a Henderson attic where the roof deck might hit 160°F on an August afternoon and drop to near 40°F on a January night, wood framing expands and contracts across that range. Over a few years, the foam-to-wood interface at the top plates, the rafter bays, and around penetrations can open up gaps you can’t see from the attic hatch.
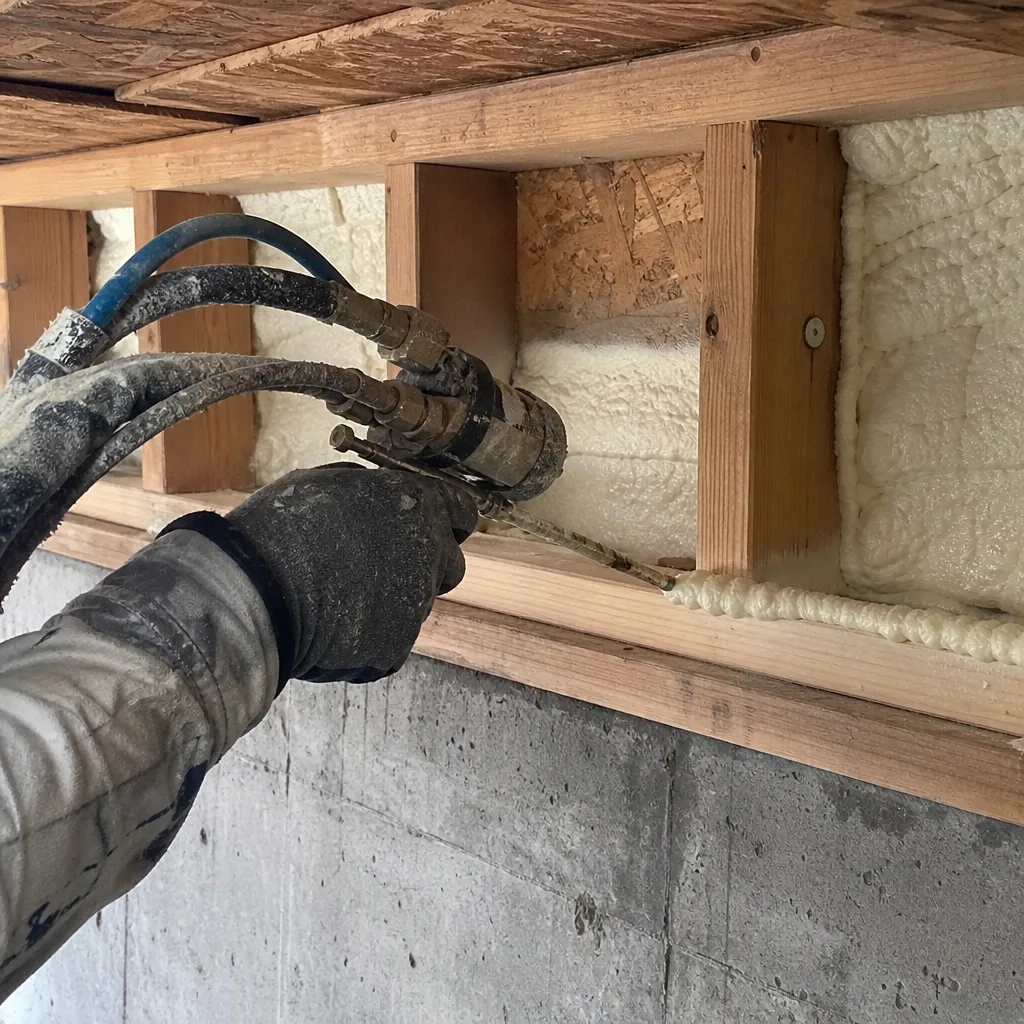
Two-part foam, the kind we install under Spray Foam Insulation in Henderson, cures to a closed-cell or open-cell matrix depending on the product. Icynene and similar formulations are engineered to flex more than older rigid foams, but no foam is immune to thermal cycling. In our experience across Henderson homes, the failures we find are almost never in the middle of a sprayed field. They’re at the edges, the seams, and where the foam meets something that isn’t foam.
That’s the whole reason maintenance matters. You’re not maintaining the foam. You’re maintaining the seal between the foam and everything it touches.
The Two Henderson Inspection Triggers

Rather than pick an arbitrary date on the calendar, tie your inspections to two events that actually stress the assembly. Henderson’s climate makes both easy to time.
Trigger 1: The first sustained heat wave of summer
Sustained means three to five consecutive days above 105°F, which in Henderson happens reliably in late June or early July. That stretch is when the attic hits peak temperature and the thermal expansion is at its maximum. It’s also when tiny gaps in the foam-to-seal interface show up as cool-air leaks because the pressure differential between your conditioned space and the attic is at its highest.
Schedule your inspection for the week after that first heat wave breaks. If a gap opened during expansion, that’s the window when it’s easiest to spot. It’s also when cooling bills spike, so if you’re going to compare utility data against last year, this is the cleanest point of comparison.
Trigger 2: Any renovation that penetrates the attic
Adding a bathroom vent, running new electrical, installing a ceiling fan in a room below, putting in a whole-house humidifier, or re-roofing all involve cutting into or working around spray foam. Every one of those is an opportunity to break the seal. Re-insulating around a new penetration isn’t optional, and the contractor doing the electrical or plumbing work almost never does it.
Inspect within two weeks of any attic-penetrating renovation. Not two months. The longer a gap sits open, the more conditioned air escapes and the more moisture moves into the assembly.
What You Can Check Yourself vs. What Needs a Blower Door
A homeowner can catch a surprising percentage of problems with a flashlight and 20 minutes twice a year. But there’s a hard line between “visible inspection” and “measured performance,” and it’s worth being clear about which is which.
What you can inspect yourself
- The visible foam surface: Look for cracks, blistering, discoloration, or areas where the foam has pulled away from wood. Pay attention to rafter bays near the eaves and any place the foam looks like it’s separated from framing.
- Penetration seals at wiring and plumbing: Every wire, pipe, and conduit that passes through the foam should be fully encapsulated. If you can see the wood or drywall through a gap around a pipe, that’s a leak.
- The foam-to-top-plate seam: This is the single most common failure point. The seam where the wall’s top plate meets the foam in the attic floor or knee wall should be a continuous, unbroken bond. Run your hand along it – you can often feel a gap before you can see one.
- Signs of moisture: Staining on rafters, condensation on the underside of the roof deck, or a damp musty smell all suggest air is moving where it shouldn’t.
- Rodent activity: Chewed foam, droppings, or tunnels through the material. Spray foam slows rodents but doesn’t stop a determined one.
What requires a blower-door measurement
A blower-door test is a pressurization reading that shows, in one number, how much air your building envelope is losing. It’s the only way to know whether small gaps you can’t see are actually adding up to a real performance loss. Visible inspection catches the near-total failures. A blower door catches the slow degradation. On applicable jobs, we publish before-and-after blower-door numbers so homeowners can see the difference in CFM50, the standard measurement of air leakage at 50 pascals of pressure.
For Henderson homes with spray foam in the attic, a professional blower-door reading every three to five years is the right cadence. That’s frequent enough to catch a trend before your cooling bill doubles, and infrequent enough that you’re not paying for the test more often than it earns back.
How to Track Foam Performance Using Utility Data
You don’t need a spreadsheet, but you do need to know what to look for. The most reliable signal of foam degradation is a year-over-year increase in cooling load that can’t be explained by rate changes, a hotter summer, or a new appliance.
Here’s how to read it:
- Compare kWh, not dollars. Dollars change with rate schedules, fees, and time-of-use tiers. Kilowatt-hours are the raw physics. Pull the same month’s usage from your utility portal for the last three years.
- Adjust for weather. The National Weather Service keeps cooling-degree-day data for Las Vegas. Divide your summer kWh by the cooling-degree days for that month to get a normalized number. If your normalized figure climbs 10 to 15 percent over two summers, something in your envelope is leaking.
- Compare against your ENERGY STAR Home Energy Score. If you got a score when you installed foam, that’s your baseline. A score produces an estimated annual energy use and a score out of 10. A drop of a point or more without a corresponding change in equipment or occupancy is a signal.
- Look for cooling-load spikes that don’t match the calendar. If July 2023 was hotter than July 2024 but 2024 cost you more, air leakage is the likely culprit.
A 15 percent year-over-year increase in cooling load without a rate change or a hotter summer is the number that should trigger a blower-door test. Below that, keep tracking.
UV Degradation and the Exposed Foam Problem
Spray foam is not UV-stable. Left exposed to sunlight, it breaks down within a year to 18 months – yellowing, chalking, and eventually crumbling. This is a non-issue in most attics because the foam is hidden. It becomes a real issue in two specific Henderson applications: crawl spaces and rim joists that get indirect light, and open garages or carports where foam was sprayed overhead.
If you have foam anywhere sunlight can reach it, it needs a thermal barrier – drywall, a coating, or an intumescent paint – over the foam. This isn’t just UV protection. Codes require a thermal barrier over spray foam in occupied spaces for fire safety. Two reasons to cover it.
For exposed foam without a barrier, inspect every six months. Look for yellowing, surface crumbling, and the chalky residue that indicates UV breakdown. Once the surface has degraded, the structural integrity of the foam is compromised and it needs to be removed and re-sprayed. In Henderson’s crawl spaces, this is less common because crawl spaces are usually dark. But rim joists in a garage that gets afternoon sun through a window are a place we’ve seen UV damage.
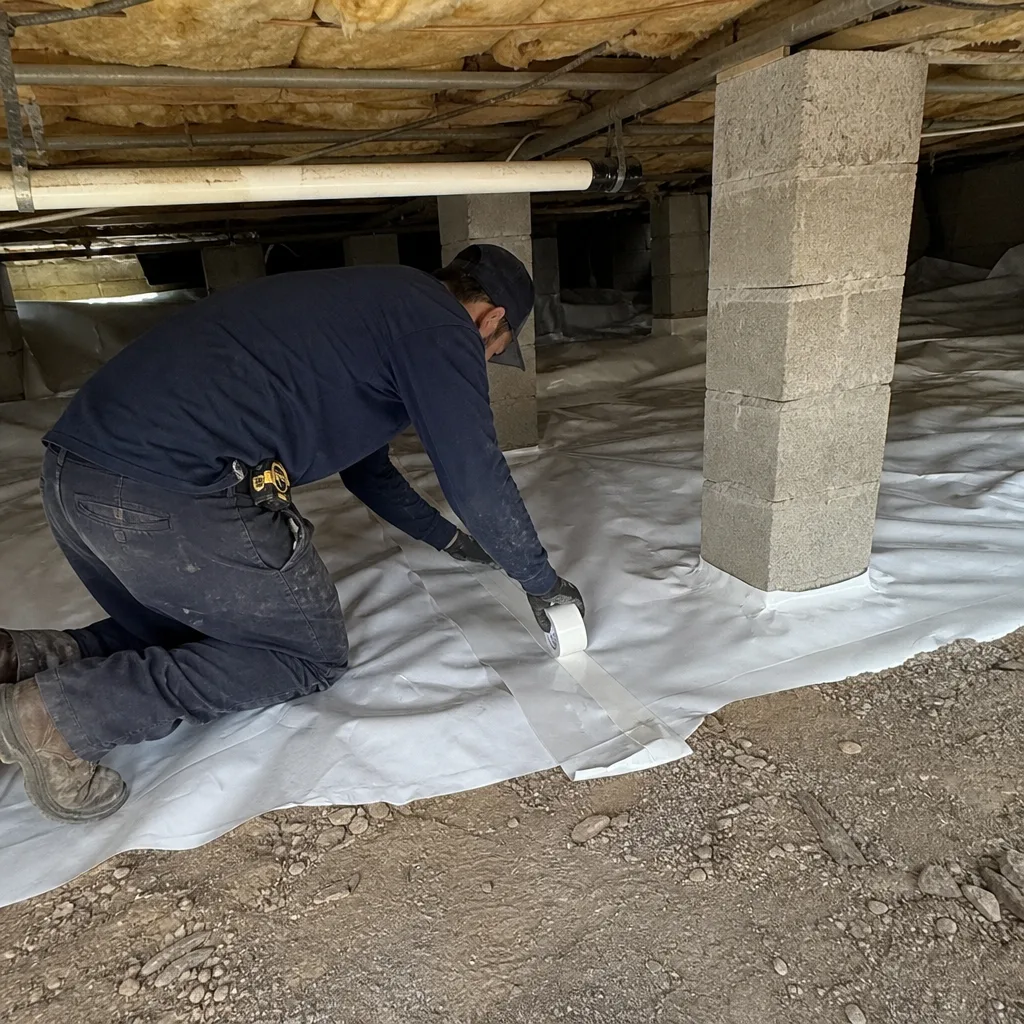
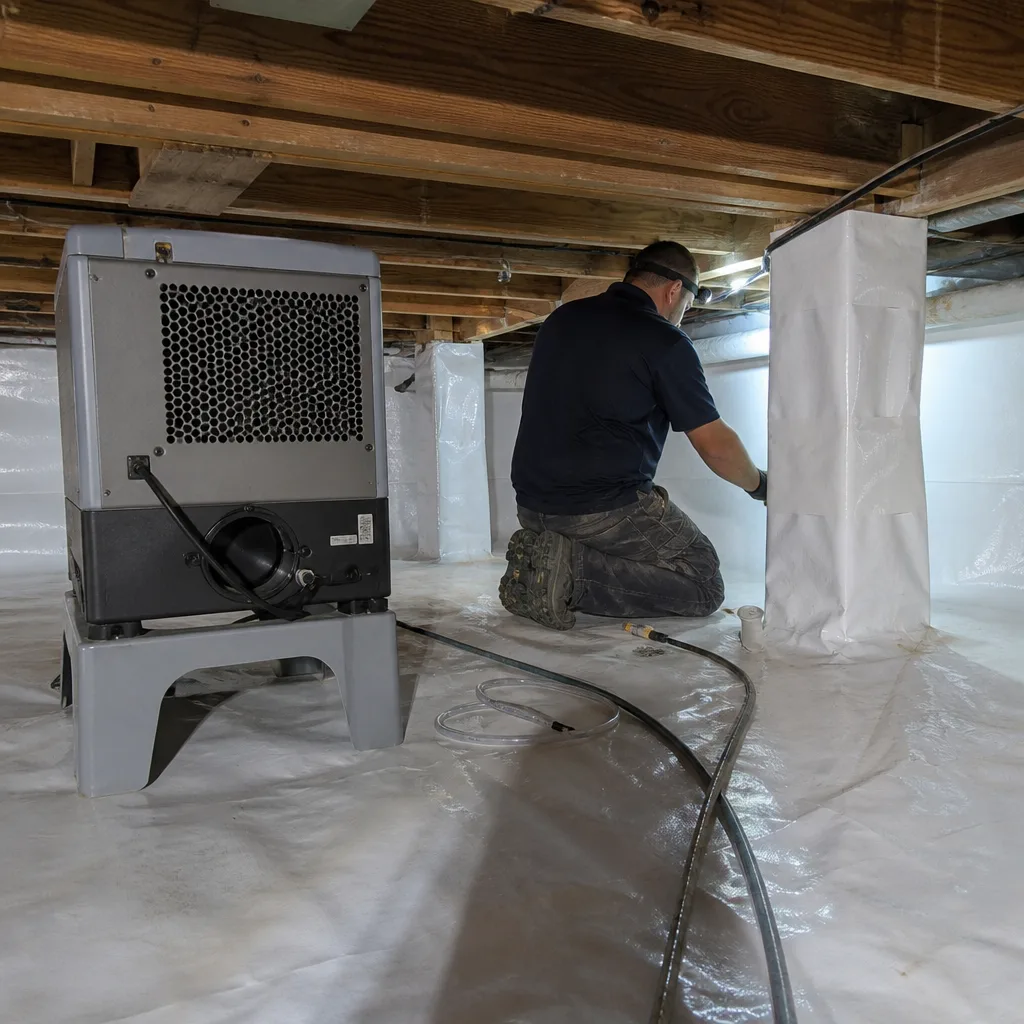
If you have an encapsulated crawl space with foam at the rim joists, add it to the same annual schedule as the attic. Our Crawl Space Encapsulation & Vapor Barrier in Henderson work pairs foam at the rim joist with a sealed liner, and the foam gets checked as part of the same visit.
The Paperwork You Should Keep From Installation

If a warranty claim ever comes up, the paperwork matters more than the foam. Get these from your installer at the time the job is done, and keep them somewhere you’ll find them in five years:
- Foam brand and product name: Icynene, Demilec, or another brand matters because warranty terms differ across manufacturers. Know which one is in your attic.
- Batch number or lot number: Every foam drum or kit has one. Without it, a warranty claim can be denied on the grounds that the manufacturer can’t trace the product.
- Installed thickness by area: Measured, not nominal. The approved thickness for an R-value target should be documented bay by bay, especially if any area needed a second pass.
- Substrate and climate conditions at install: Temperature and humidity on the day of install affects cure and adhesion. Good installers record this.
- Blower-door before and after readings in CFM50: This is your performance baseline. You’ll need it for the tracking method above, and it’s evidence if you ever sell the house.
- The written scope and written warranty: Under Haven Standard Clause 1, every job at Envelope Insulation starts with a written price, written scope, and written warranty before anyone lifts a tool. Keep all three.
If you didn’t get these at installation, ask for them now. A reputable installer can pull the record. Materials from Knauf and CertainTeed, for instance, come with manufacturer documentation we pass to the homeowner along with our own Documented Photo Record from the install.
Maintenance After a Renovation Opens the Attic
Every attic-penetrating renovation is a new stress event. Here’s a workable sequence to run through within two weeks of any such work:
- Confirm the new penetrations are sealed. Any new wire, pipe, or vent boot needs foam around it, fully cured, bonded to the substrate. If your electrician or plumber “didn’t touch the insulation,” that’s the problem, not the resolution.
- Check the top plate seam in the work area. Workers moving around in an attic frequently crack the foam at the top plate where they step.
- Photograph the work area. Keep the same angles you got from the original Documented Photo Record so you can compare before and after.
- Compare the next month’s utility data against the same month last year. If the renovation was in March and your April cooling load jumped 20 percent versus last April, you have a leak. If it was in a shoulder month where you barely ran the AC, wait until July for the clean read.
- Schedule a blower-door test within 90 days. Renovation is one of the two triggers we’ve flagged. Treat it that way. A blower-door test before and after renovation tells you exactly what was lost.
The Year-by-Year Schedule at a Glance

Here’s the schedule we recommend for a Henderson home with spray foam in the attic or crawl space:
- Twice a year (spring and fall): DIY visual walk-through. Foam surface, penetration seals, foam-to-top-plate seam, signs of moisture, rodent activity.
- Once a year (after the first sustained heat wave): Comparison of year-over-year cooling load in kWh, normalized against cooling-degree days.
- Every 3 to 5 years: Professional blower-door test to measure air leakage. This is your measured performance checkpoint.
- Every 6 months if foam is exposed to light: UV check for yellowing or chalking. Add a thermal barrier if one isn’t in place.
- Within 2 weeks after any attic renovation: Visual confirmation of penetration seals on new work, top-plate check, photographs.
- Within 90 days after significant renovation: Blower-door test to confirm no performance loss.
Run that schedule and spray foam lasts decades. Skip it and the small stuff turns into a re-spray.
Common Mistakes to Avoid
- Trusting “install and forget.” That’s a marketing line, not a maintenance plan. Henderson’s thermal cycling is real, and the foam-to-substrate bond needs periodic checking even though the foam matrix itself is durable.
- Never checking after a renovation. This is the single most common failure we see. The electrician cut a trench through the foam and nobody sealed it. Two months later the cooling bill is up 20 percent.
- Relying on the dollar amount on the power bill. Rate changes and time-of-use tier shifts make dollars meaningless as a performance signal. Track kWh.
- Covering exposed foam with insulation batts. That doesn’t fix UV degradation and it can trap moisture against the foam. If foam is exposed, it needs a thermal barrier per code, not a batt.
- Letting a handyman seal penetration gaps with caulk or expanding foam from the hardware store. Can foam from a can isn’t the same chemistry as the two-part foam in your attic. It doesn’t bond the same way and it doesn’t perform the same way.
- Discarding the installation paperwork. No batch number, no warranty claim. If you don’t have the documents, request them from your installer while their record is still retrievable.
- Skipping the blower door because “nothing looks wrong.” The failures that matter are the ones you can’t see. That’s the whole reason blower-door measurement exists.
When to Call a Professional
Call us in four situations. First, if the seam at the foam-to-top-plate interface has opened anywhere along its length. Second, if a renovation in the last 90 days involved new penetrations through sprayed areas. Third, if your normalized year-over-year cooling load has jumped 15 percent or more without a rate change or a hotter-than-normal summer. Fourth, if exposed foam shows yellowing or surface crumbling, which points to UV degradation and needs to be assessed for removal.
If you had the work done elsewhere, we offer a free second opinion on any written estimate – we’ll read a competing quote with you line by line. If you’re going to do the blower-door test, having an independent baseline reading is worth the visit. Envelope Insulation Henderson offers free estimates in Henderson. Call (844) 320-5338 or visit our Envelope Insulation Henderson home page to see how the schedule fits your home.
Frequently Asked Questions
Once a year for a visual inspection and every three to five years for a professional blower-door test. The visual inspection is best timed right after the first sustained heat wave of summer, and a second light walk-through in the fall catches anything a spring or summer event left behind.
The foam matrix itself is durable – it doesn’t compress or settle – but the bond between the foam and its substrate can weaken under thermal cycling. In Henderson attics that swing from 160°F to 40°F, the foam-to-wood interface can develop hairline cracks that aren’t visible but do leak air. That’s what maintenance is checking: the bond, not the foam.
You can and should do a visual check twice a year. Look at foam surfaces, penetration seals around wires and pipes, and the seam at the top plate. But a visual inspection can’t measure air leakage. If you suspect a problem, a blower-door test is the only way to know whether small gaps are adding up to real performance loss. Call (844) 320-5338 for an exact quote on a blower-door test – estimates are free.
UV breaks down exposed spray foam within 12 to 18 months, causing yellowing, chalking, and eventually crumbling. Foam in a crawl space or on a rim joist should always have a thermal barrier over it – drywall, a coating, or intumescent paint – both for UV protection and for fire code. Inspect exposed foam every six months.
Pull the same month’s kWh from your utility portal for three years running and normalize against cooling-degree days for Las Vegas. A 10 to 15 percent climb over two summers without a matching weather pattern or rate change is your signal to schedule a blower-door test. If you have an ENERGY STAR Home Energy Score from when the foam went in, that’s a baseline you can compare against too.
Foam brand and product name, batch or lot number, installed thickness by area, substrate and climate conditions recorded on install day, before-and-after blower-door readings in CFM50, and the written scope and written warranty. These matter for warranty claims. If you don’t have them, ask your installer for a copy while their records are still available.
The Bottom Line
Spray foam in a Henderson home isn’t install-and-forget, but it’s close if you build the two inspection triggers into your year. Check after the first sustained heat wave. Check after any attic-penetrating renovation. Do a light visual walk-through twice a year looking at foam surfaces, penetration seals, and the foam-to-top-plate seam. Track year-over-year cooling load in kWh to catch slow degradation. Get a blower-door test every three to five years as the measured checkpoint. Keep the paperwork from installation because warranties depend on it, and treat exposed foam as a UV problem with a code requirement attached. Do those things and your foam performs for decades. Skip them and the failures show up as a 15 percent higher cooling bill in a Henderson August.
If you want help building a maintenance schedule for your specific home, or you’re ready for a blower-door test as your next checkpoint, our team works from a written price before any work starts and leaves a Documented Photo Record on every visit. See how we handle attic insulation in Henderson for the full scope of what a proper install looks like. Our technicians have up to 10 years of experience, and a live person answers our phones 24/7 at (844) 320-5338. Call today for a free estimate.
Written by the team at Envelope Insulation Henderson.