
Last updated November 17, 2026
Radiant Barrier Installation Troubleshooting: Common Problems and How to Fix Them
Roughly six out of ten “my attic is still hot” calls we run after a radiant barrier install trace back to one thing: the foil is touching the insulation below it. A reflective surface only reflects when there’s air behind it. Touch it and you’ve built a conductive surface, which can perform worse than no barrier at all. This guide walks through how to diagnose a barrier with a $15 infrared thermometer, what contact-gap and ventilation failures look like, when the foil has simply aged out, and the exact thresholds that tell you clean, re-staple, or replace. Henderson summers put every one of these failures on display.
Quick Answer
Most radiant barrier failures in Henderson are contact problems (foil sagging onto insulation) or ventilation problems (blocked soffits, choked ridge caps), not product defects. Confirm the air gap with an infrared thermometer first: in direct sun, a properly installed barrier reads 10-20°F cooler on the foil surface than the adjacent rafter wood. If it doesn’t, fix the gap or the venting before you spend a dollar on replacement foil.
Table of Contents

- The Contact-Gap Diagnostic: Is Your Air Space Actually Working?
- Sagging Foil After Stapled Installations
- Ventilation-Choked Barriers: The 1/150 Rule
- Winter Condensation and the Perforation Question
- Dust, Degradation, and the Clean-vs-Replace Decision
- Was It Ever Installed Correctly?
- Common Mistakes to Avoid
- Frequently Asked Questions
The Contact-Gap Diagnostic: Is Your Air Space Actually Working?
Radiant barriers are only reflective if they have an air space on the hot side. Every inch of contact turns a reflective surface into a conductive one, and conduction is the wrong physics for a barrier. The good news: you can prove it or disprove it in an afternoon.
Grab an infrared thermometer, a tape measure, and a notebook. Climb into the attic in full sun (between 11 a.m. and 3 p.m. in Henderson puts the attic at peak heat). Then:
- Point the thermometer at a section of foil that has visible clearance from the insulation below.
- Immediately point it at the rafter or truss wood adjacent to that section. Write both readings down.
- Repeat at three separate locations across the attic.
- Repeat again at any spot where the foil is sagging toward the insulation below.
A properly installed barrier reads 10-20°F cooler on the foil surface than the adjacent rafter wood in direct solar conditions. If foil and rafter read the same, or foil reads hotter, the gap has collapsed. If foil reads only 3-5°F cooler, the gap is marginal; dirt or partial contact is starting to short it out.
This is the single most useful test in radiant barrier troubleshooting. It doesn’t require taking anyone’s word for whether the job was done right, and it costs less than lunch.
Sagging Foil After Stapled Installations

The stapled install is the cheapest way to put a radiant barrier up, and it’s also the one that fails first. Staples go through the foil at fixed intervals. Over time the adhesive behind the staple head, or the foil around the staple, gives way. In an attic that crosses 130°F most Henderson summers, UV exposure inside a ventilated attic degrades that adhesive faster than the homeowner expects.
The failure timeline we see most often: 5-7 years from installation before visible sagging begins. It’s rarely all at once. One section sags, contacts the insulation, and suddenly that section stops reflecting. The rest of the barrier still reads correctly with the IR thermometer, which is exactly why spot-checking at only one location misleads people.
How to identify incipient failure before it becomes contact:
- Stand near the access hatch and sight down the length of the attic. Sagging foil reads as a wavy line, not a taut plane.
- Look for foil that bows in the middle between staple lines. A 1-2 inch bow that wasn’t there at install is the first sign.
- Check for staples that are rusted. Rusted staples expand slightly and lose grip, and a rusted staple is a failing staple.
- Listen. In a moderate wind event, loose foil can pop or flap. If you hear it in the attic on a breezy day, the fastening is under load.
Re-stapling to restore the gap is a legitimate fix if the foil is intact. If the foil is brittle, cracking when flexed, or has torn loose at the staples, replacement is the honest answer.
Ventilation-Choked Barriers: The 1/150 Rule
A radiant barrier doesn’t cool your attic. It reflects radiant heat, and it depends on soffit-to-ridge convection to carry the rest of the heat up and out. Block the soffit vents or choke the ridge cap and you trap the heat the barrier was supposed to move. Then the homeowner sees a barrier that “doesn’t work,” when the barrier is doing everything it can with the airflow it has.
Ventilation adequacy has a rule everyone in the trade uses: the 1/150 rule from the IRC. Net free vent area should equal 1 square foot per 150 square feet of attic floor, split roughly 50/50 between intake at the soffit and exhaust at the ridge or gable. A 2,000-square-foot attic needs about 13.3 square feet of net free area: roughly 6.7 square feet intake and 6.7 exhaust.
The check goes like this:
- Measure your attic floor square footage.
- Divide by 150. That’s your target net free area in square feet.
- Check soffit vents from below. Insulation baffles are the biggest culprit: fallen baffles block the intake path completely, and soffit vents choked with paint, dirt, or cobwebs do the same.
- Check the ridge cap from the roof. A “shingle-over” ridge vent needs a clean slot in the sheathing. If the sheathing was never cut, or the vent has been sealed during a reroof, the exhaust is dead.
Henderson homes built in the 2015-2025 window often have the right venting specified on paper. What goes wrong is execution: baffles crushed during an insulation install, ridge vents covered by a reroof that didn’t re-cut the slot, or intake blocked by attic storage crammed along the soffit. The attic insulation service we run on homes like this always starts with a venting check, because no barrier or insulation value survives a dead soffit.
Winter Condensation and the Perforation Question

Foil barriers come in two flavors: solid and perforated. In a solid barrier, the foil is a vapor barrier on the attic side, and moisture from the house has no escape route. In a perforated barrier, tiny pinholes let vapor migrate through, which matters in winter when attic dew points cross.
The failure pattern is specific: condensation forms on the underside of the foil in January and February, drips onto the insulation below, and shows up as a damp ceiling stain or a musty attic smell months later. In Henderson this is rare, but the winter inversion events in January-February (when the valley sits under a cold, still air mass for days) make it possible in attics with no airtightness at the ceiling plane.
How to tell if the barrier is perforated:
- Hold a flashlight behind the foil in a dark attic. Perforated foil shows pinpricks of light. Solid foil does not.
- Check the specification sheet if you can locate it. Manufacturers stamp perforated vs. solid on the roll.
- Look for droplets or staining on the underside of the foil after a cold stretch. That’s the diagnostic.
When perforation matters here: if you have an attic with no air sealing at the top plates and can lights, you have a warm-moisture source, and solid foil makes it a trap. Attic air sealing before the barrier goes down is the correct order of operations. If the perforation question is unresolved, call a pro to inspect before you seal anything up.
Dust, Degradation, and the Clean-vs-Replace Decision
A dusty radiant barrier is a dull radiant barrier. Dust accumulation on the reflective surface can cut reflectivity by up to 30%, and that’s without any contact problem. In a Henderson attic with an evaporative cooler nearby, or in a home with a leaky return chase, dust settles fast and a 3-year barrier can look a 15-year barrier.
Wipe-test first. Take a clean white rag, wipe a 6-inch square of foil, and look at the rag. That tells you what’s sitting on the surface.
- Light dust, foil intact: vacuum the surface with a HEPA brush attachment and re-check with the IR thermometer. Often that’s enough to restore the readings.
- Heavy dust, foil still reflective under the dust: cleaning helps, but plan a follow-up dust control (filter, air seal) so it doesn’t return.
- Dust plus degraded foil (yellowing, delamination, cracking when flexed): the reflective layer is gone. Cleaning won’t restore what isn’t there. Replace.
- Dust on contact areas: the dust means nothing compared to the contact. Fix the air gap first, then decide on cleaning.
The threshold question isn’t “is the foil dusty?” It’s “is the foil still reflective behind the dust?” If the rag comes up silver, clean. If it comes up yellowed or with foil delaminating on it, replace.
Was It Ever Installed Correctly?

Some barriers fail because they were done right and have since degraded. Others were never right from the day they went up. Knowing which one you have changes the fix and, frankly, whether a re-install by the same company is worth your time.
Signs the job was never installed correctly:
- Foil draped directly across the top of the insulation. No gap, no reflection. This is the single most common failure and it’s a build error from day one.
- Foil stapled to the underside of the roof deck with no clearance from sheathing. Slight clearance is needed for a proper radiant gap; touching the sheathing conducts.
- Foil installed over the top of the joists and under the insulation. Wrong side of the thermal boundary entirely.
- Foil on only part of the roof plane. Uncovered sections radiate into the attic the same as if no barrier existed, and the barrier’s value drops in proportion.
- No documentation of the install. No photos, no measurement, no written scope. In our experience, an undocumented install was usually a rushed one.
Signs the job was right and has degraded: foil was originally taut and gapped, but sagging at staples; foil reads correctly in some zones and fails in others; dust accumulation but reflective layer intact; staple heads rusted but foil otherwise undamaged. Degradation is fixable. Build errors usually aren’t, at least not without a full pull-down and re-install.
If a prior install needs to come down, that’s a removal-and-replace job. Our insulation removal and replacement service handles that kind of retrofit, including the attics on the Henderson neighborhoods with the longest sun exposure, like Anthem and Seven Hills, where UV dose is highest.
Common Mistakes to Avoid
- Adding more foil over a failing barrier. If the gap is the problem, a second layer with the same gap problem doubles the cost and doesn’t fix anything. Diagnose first.
- Fixing the barrier without fixing the venting. Blocked soffits and a choked ridge cap make any barrier underperform. Correct the ventilation before you call the barrier a failure.
- Installing solid foil in an attic with no air sealing. The January-February inversion in Henderson is rare but real, and a solid barrier in a leaky attic traps moisture that shows up in February as a stain.
- Judging performance from one IR reading. A hundred square feet can read correctly while the rest of the attic has collapsed. Read three to five locations minimum.
- Layering foil onto damp or dusty insulation. The foil traps moisture against the surface. Address the substrate before the new barrier goes down.
- Assuming “newest barrier wins.” A properly installed perforated barrier with good venting beats a newer solid barrier with contact and dust problems every time.
- Skipping the blower-door number. Without a before-and-after reading, you can’t tell whether the barrier, the venting, or the air sealing is what changed the attic. Demand the number in writing.
When to Call a Professional
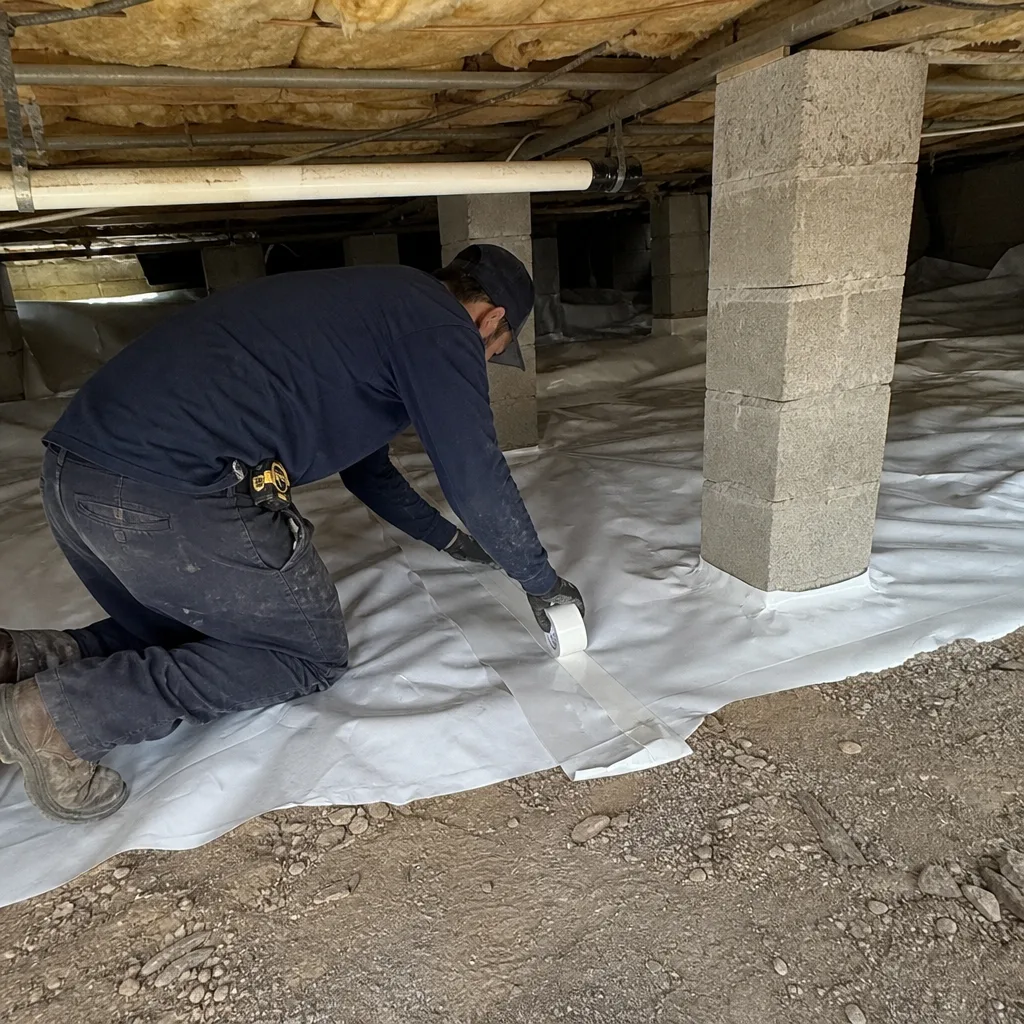
Call a professional if your attic lacks a safe walkable path to the foil sections you want to inspect, if the sagging spans multiple structural bays, if you have any suspicion of moisture staining, or if you need to identify whether insulation baffles are crushed (which means pulling back insulation to see the soffit path). Radiant barrier work near soffit intakes and ridge caps shares a category with the work on your spray foam insulation and crawl space encapsulation and vapor barrier lines, in that attics are confined spaces and the margins for error with hot surfaces and staples are thin. Our technicians have up to 10 years of experience and bring a documented photo record and blower-door numbers on applicable jobs. Envelope Insulation Henderson offers free estimates in Henderson. Call (844) 320-5338.
Frequently Asked Questions
The most common cause is that the foil is touching the insulation below it, which converts a reflective surface into a conductive one. Check it with an infrared thermometer: in direct sun, the foil surface should read 10-20°F cooler than the adjacent rafter wood. If it doesn’t, you have a contact problem or a ventilation problem, not a product problem. Call (844) 320-5338 for a free diagnostic visit.
Measure the temperature differential. Point an IR thermometer at the foil and then at the adjacent wood in the same solar exposure; a working gap shows 10-20°F cooler on the foil. Anything less than 5°F indicates the gap is marginal or failing. Visual sighting down the attic length also works: taut foil looks flat, failing foil looks wavy. Call us for an exact reading before you authorize any replacement.
If the foil is still reflective under the dust, cleaning works. Wipe-test with a clean white rag: silver means clean, yellowed or delaminating means replace. Dust alone can cut reflectivity by up to 30%. Call (844) 320-5338 for an exact quote – estimates are free.
The 1/150 rule is the IRC ventilation standard: net free vent area equal to 1 square foot per 150 square feet of attic floor, split roughly half intake and half exhaust. A 2,000-square-foot attic needs about 13.3 square feet total. If your soffits are blocked or your ridge cap is under-cut, the barrier traps the heat it’s supposed to move. We can measure this during a free estimate.
Only in a specific scenario: solid (non-perforated) foil, poorly ventilated attic, and no air sealing at the ceiling plane. The January-February inversion events in Henderson are the window when this can actually produce a damp ceiling stain. Perforated foil avoids the problem. Call (844) 320-5338 and we’ll check whether yours is perforated.
Repair is usually cheaper if the foil is intact and only the gap or the staple attachment has failed. Replacement is the honest recommendation if the foil is brittle, delaminating, or the barrier was never installed correctly (touching insulation, wrong side of the thermal boundary, or covering only part of the roof plan). Call (844) 320-5338 – estimates are free and include a written price before any work starts.
The Bottom Line
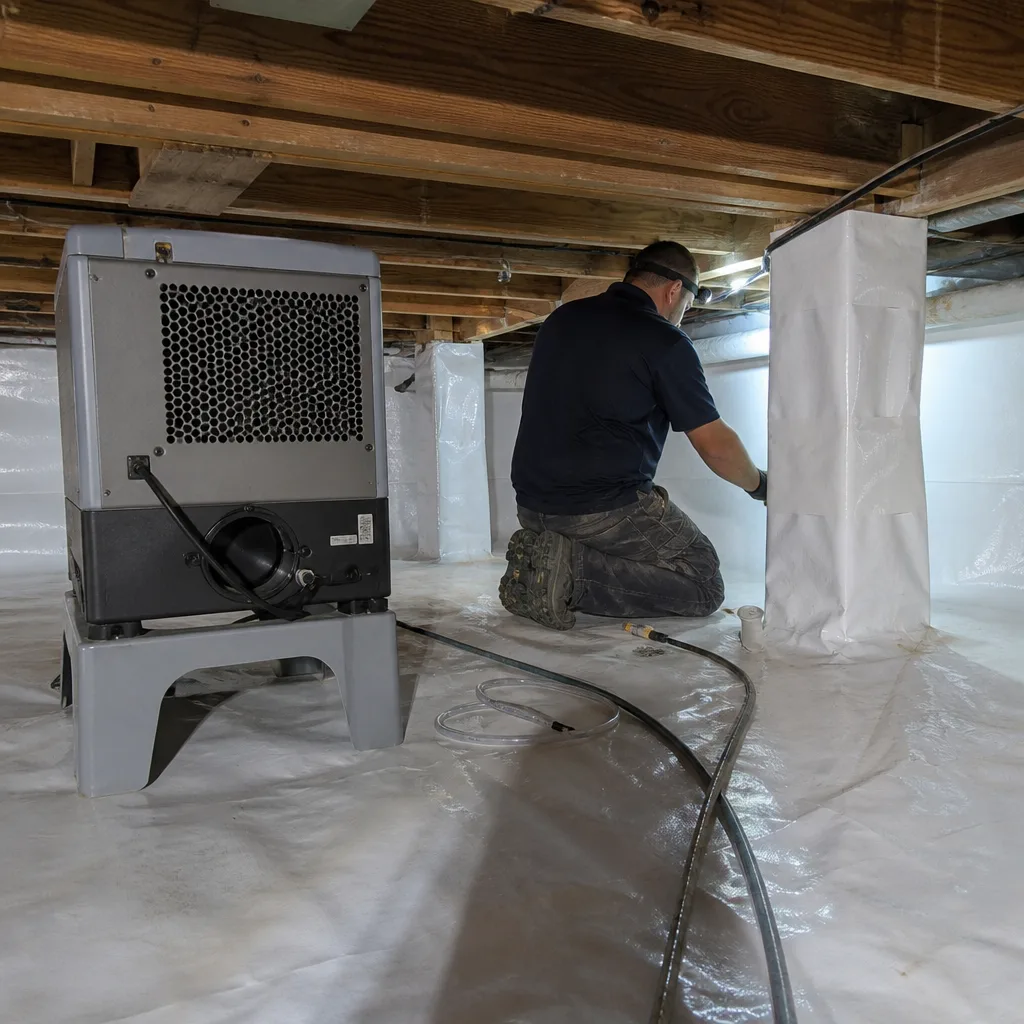
Radiant barriers fail for two reasons: the gap closed or the venting died. The IR thermometer tells you which one, in an afternoon, for the price of a sandwich. A working barrier reads 10-20°F cooler on the foil surface than the adjacent wood in direct sun; anything under 5°F means you have a fixable problem. Dust cuts reflectivity up to 30% – clean if the foil is still reflective behind the dust, replace if it’s yellowed or delaminating. Check the 1/150 rule on ventilation before you blame the barrier. And if it was never installed correctly, no amount of cleaning will fix that. Envelope Insulation Henderson treats air sealing as a hard prerequisite, never an upsell, and publishes before-and-after blower-door numbers on every applicable job. That’s how we make the fix verifiable.
Ready to get a written price before any work starts? Call (844) 320-5338 for a free estimate and a free second opinion on any written quote you already have.
Written by the team at Envelope Insulation Henderson.