
Last updated November 17, 2026
Radiant Barrier Installation Warning Signs Every Homeowner Should Know
Radiant barriers don’t rot, rust, or sag overnight. They degrade slowly enough that most homeowners blame the air conditioner and spend $3,000 on a service call before anyone climbs into the attic and looks at the foil that’s been sagging into the insulation for two years. That’s the pattern we see again and again in Henderson. The barrier quietly loses reflectivity or drops out of contact with its air gap, the HVAC system works harder to compensate, and by the time the cooling bill registers, the equipment has already been recharged, repaired, or replaced for no reason. This guide covers the signals that point to the barrier itself: which ones you can watch, what to look for during an attic inspection, and the one sign that means stop monitoring and call a professional today.
Quick Answer
The main warning signs of a failing radiant barrier are a year-over-year increase of roughly 15% in cooling runtime with no change in insulation or equipment, foil that has sagged into the insulation below, foil that has darkened from silver to gray-tan, and soffit vents blocked by settled insulation that cut off the barrier’s exhaust pathway. Foil touching electrical junction boxes or old knob-and-tube wiring is an immediate safety issue, not a performance one, and needs professional attention right away.
Table of Contents

- The HVAC Runtime Baseline: The Signal Most Homeowners Miss
- What a Sagging Barrier Looks Like (and Why You Can’t See It From Outside)
- The Dust-Darkening Warning: When Silver Turns Gray-Tan
- The Soffit Blockage Connection
- The One Warning Sign That Needs Immediate Professional Attention
- How to Inspect Your Own Radiant Barrier: A Step-by-Step Check
- Why Henderson’s Climate Punishes a Weak Radiant Barrier
The HVAC Runtime Baseline: The Signal Most Homeowners Miss
Here’s the method we recommend to every Henderson homeowner, and almost nobody does it until after the problem has already cost them money. Pick a reference week in July. Any week works as long as it isn’t a monsoon stretch. Write down how many hours per day your air conditioner runs during that week. Your smart thermostat probably logs it, and if it doesn’t, a rough daily note is enough. Then do the same thing during the same week the following July, at similar outdoor temperatures.
A 15% increase in runtime with no change in insulation depth and no change in equipment is a barrier performance signal. Not a guarantee, but a strong reason to get into the attic before you get a technician into your HVAC closet.
Why the runtime figure matters more than the thermostat setting: runtime reflects how much heat your building envelope is actually absorbing and passing inward. A radiant barrier works by reflecting incoming radiant heat before it reaches the insulation surface, and when its reflectivity drops or it loses its air gap, that heat goes straight through. Your thermostat doesn’t know the difference. It just runs longer.
The reason this baseline fails so often is that homeowners replace one variable and not the other. They buy a new condenser, the runtime drops because the equipment is more efficient, and the barrier’s decline gets hidden behind the upgrade. If you’re planning HVAC work and you have a radiant barrier above you, take the baseline before the change and check the attic before you write the check.
- Record the week and the outdoor highs. Runtime without temperature context means nothing.
- Compare like weeks. Same calendar week, similar conditions, year over year.
- Confirm nothing else changed. No added insulation, no ductwork repair, no new windows.
- Expect small variation. A few percent is noise. Fifteen percent is a signal.
What a Sagging Barrier Looks Like (and Why You Can’t See It From Outside)

You cannot see a radiant barrier’s condition from outside your house. The roof surface tells you nothing about the foil stapled to the underside of the rafters. Any inspection that stops at a shingle glance is not an inspection of your barrier.
From inside the attic, a sagging barrier has one very specific visual: foil belly between the rafters, drooping low enough that it’s touching or nearly touching the insulation surface below. That’s the warning sign. A radiant barrier depends on an air gap to function. Radiant heat transfers across a gap by radiation; when the foil lies flat against the insulation, it conducts heat instead, and the reflectivity you paid for stops doing anything. The barrier isn’t broken in a material sense. It’s just stopped being a barrier.
Sag usually starts where the installation was thin. Staples pulled loose over time, seams that were taped but not tensioned, or panels cut short so the foil had nothing to hold onto. In a Henderson attic that sees sustained summer heat and wide daily temperature swings, staple pull-through is common. The foil expands and contracts, the staples work their way out, and a panel that was taut in year one is a shallow hammock by year three.
There’s also a flat-installation problem worth naming. Radiant barriers are sometimes laid horizontally across the attic floor joists, which can work when done carefully, but it fails fast when insulation is later blown in over the top and presses the foil down. If you’ve had insulation added at any point after the barrier went in, that junction is the first place to look.
If you’re already scheduling attic work, it’s worth having the entire assembly assessed at the same time. Our page on attic insulation in Henderson goes deeper into how the barrier, the insulation, and the air sealing interact, because treating them separately is how homeowners end up paying twice.
The Dust-Darkening Warning: When Silver Turns Gray-Tan
A clean radiant barrier looks like what it is: reflective, bright, metallic. When it goes from silver to gray-tan, it has accumulated enough particulate on its surface to reduce reflectivity measurably. That’s a maintenance trigger, not a catastrophic failure, and the distinction matters. Dark foil still works. It just works less.
Dust lands on attic foil through the same pathways that let heat and air out: gaps, penetrations, loose soffit connections, and the natural movement of air through the envelope. In Henderson, where fine desert dust is a fact of life and attics get dry and breezy, dusty foil is common rather than exceptional. That doesn’t make it harmless. A layer of dust reduces reflectivity the same way dust on a mirror does. The surface is still reflective underneath, but the radiant heat hits the dust first.
The useful part of this warning sign is that it’s visible during any attic inspection. You don’t need a thermal camera or a blower door to spot it. If you’re having any work done in the attic, ask whoever’s up there to note two things: the color of the foil and whether it’s in contact with the insulation. Those two answers tell you most of what you need to know.
Cleaning a dusty radiant barrier is not a simple DIY fix. The foil is fragile, and wiping or vacuuming it can damage the reflective surface or tear the material. If the dust layer is heavy and the sag is already there, the practical answer is usually replacement rather than cleaning. That’s especially true when the barrier was installed over an attic floor that wasn’t sealed first, because the dust will just come back.
The Soffit Blockage Connection

This one surprises homeowners because it involves two components that seem unrelated. Your radiant barrier depends on airflow to perform. When the blown-in insulation in the same attic settles and covers the soffit vent baffles, the barrier loses its convective exhaust pathway. The attic gets hotter, the barrier reflects less effectively against a hotter radiant load, and the whole system degrades together.
Identifying it during an attic inspection is straightforward once you know what you’re looking for. The baffles are the rigid channels that keep insulation from spilling into the soffit vents, and they should be visible from inside the attic. If you can’t see them, or you can see insulation lapping over the tops of the vents, they’re blocked.
In Henderson this is a real pattern because blown-in insulation settles. Fiberglass settles more than cellulose in most installations, and the settling isn’t dramatic. An inch or two is enough to close a baffle. Over several years, a careful installation can slowly become a sealed one without anyone doing anything wrong.
The fix is not complicated, but it does mean getting into the attic and raking insulation back off the baffles. While you’re there, check whether the baffles themselves are intact. Some have cracked or pulled loose, and a broken baffle is a blocked baffle even if the insulation never moved.
If you’re coupling barrier work with a broader envelope project, this is where air sealing before insulation matters most. Under Haven Standard, air sealing of top plates, can lights, and penetrations is completed before any insulation is added. Blowing insulation over an unsealed attic floor traps the same air leaks under the material and makes them harder to find later. Our overview of crawl space encapsulation and vapor barrier work in Henderson covers the same principle from the underside of the house.
The One Warning Sign That Needs Immediate Professional Attention
Every other warning sign in this guide can be monitored, scheduled, or budgeted. This one cannot. Foil in contact with electrical junction boxes or knob-and-tube wiring is a code and safety issue independent of thermal performance, and it needs professional attention rather than observation.
The concern is straightforward. Radiant barrier foil is metallic. Metallic material in contact with energized conductors or with older wiring that’s known to run hot creates a condition where a loose connection or an arcing fault has a path it shouldn’t. Junction boxes are required to remain accessible and clear. Foil pressed against one is an obstruction. Knob-and-tube wiring, which still exists in some older Henderson homes, is a particular concern because the wiring was never designed to be enclosed or contacted by anything.
If your attic has a radiant barrier and you see foil draped over or pressed against any electrical component, don’t wait for a performance signal. Get it looked at. This is the one warning sign where the right move is to skip the monitoring phase entirely.
Older homes with knob-and-tube are a specific case. If your barrier was installed during a renovation and the electrician and the insulation crew were working on different schedules, contact with older wiring is exactly the kind of thing that gets missed. Any barrier installation in a home with knob-and-tube wiring should be verified by someone who understands both systems.
How to Inspect Your Own Radiant Barrier: A Step-by-Step Check
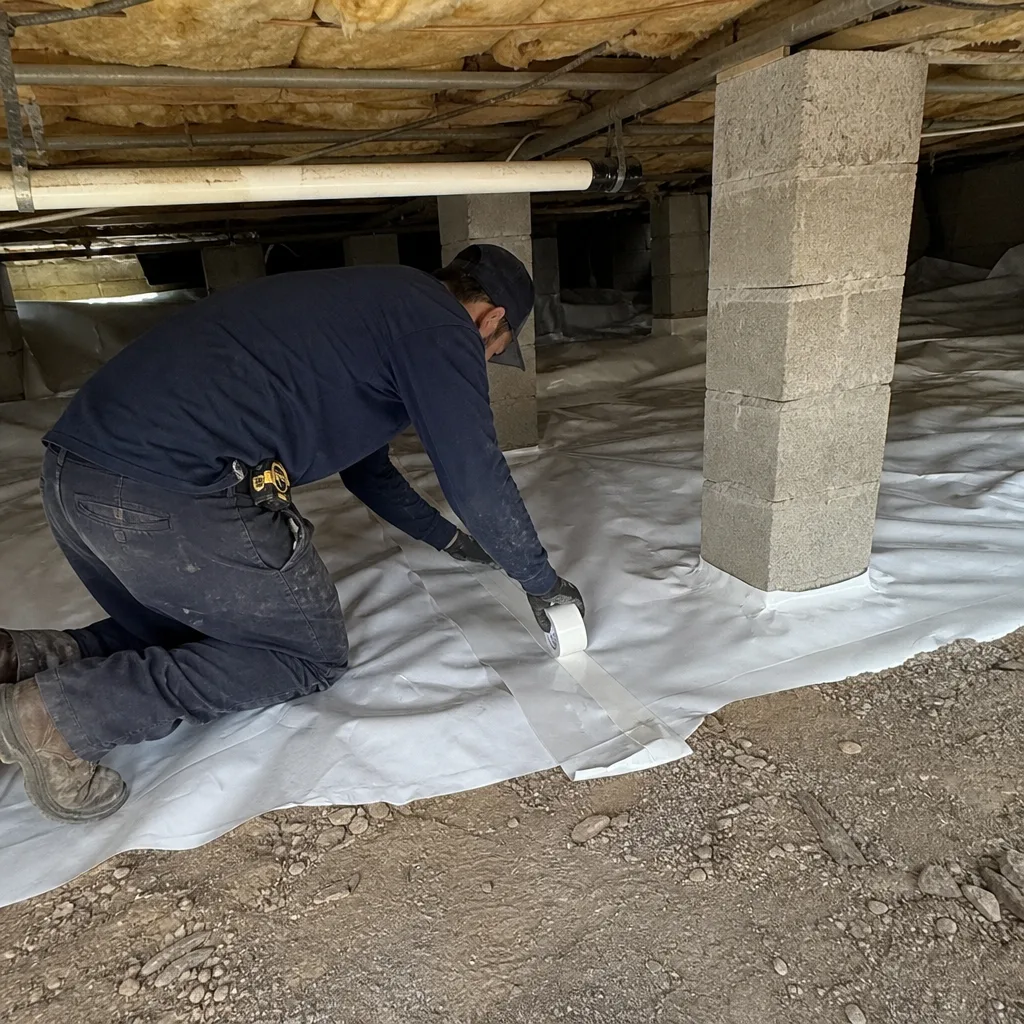
You can do a first-pass visual check yourself safely from the attic access. Anything involving movement through the attic, electrical components, or the underside of the roof deck is a job for someone who does it regularly. Here’s the sequence we’d walk you through:
- Start your runtime baseline before anything else. Before you climb into the attic, note this July’s daily cooling hours. Without a baseline, the attic inspection tells you about condition but not about performance.
- Look into the attic access with a bright light before stepping in. Check for the foil belly between rafters first. If you can see foil touching the insulation surface from the hatch, the air gap is gone and the barrier isn’t performing.
- Note the foil color. Silver is healthy. Gray-tan means dust accumulation and reduced reflectivity.
- Check the soffit baffles from a safe position. Look for insulation covering the vents. If the baffles aren’t visible, they’re blocked.
- Look for any foil near electrical components. Junction boxes, wiring runs, anything metallic and exposed. If you see contact, stop and call a professional. Don’t touch anything.
- Check for moisture or staining on the rafters or deck. A radiant barrier sitting over a roof with a leak or poor ventilation can hide developing damage.
- Write down what you found, with photos if you can get them safely. Photographs make the follow-up conversation with a contractor far more useful.
If you want the whole envelope looked at in one visit rather than piecemeal, an energy audit is the more efficient path. We describe that work on our spray foam insulation page for Henderson, which covers how the attic ceiling and rim joists are typically addressed together.
Why Henderson’s Climate Punishes a Weak Radiant Barrier
Henderson summers are hard on radiant barriers in a way that milder climates don’t reproduce. Attic temperatures climb well past 140°F during July afternoons, and the daily swing between afternoon peak and overnight low is substantial. That repeated thermal cycling is what loosens staples and causes foil to sag. The material doesn’t fail all at once. It works loose, season after season.
Desert dust adds the second pressure. Fine particulate drifts into attics through the same gaps that leak conditioned air, and over several summers it settles on the foil. Combined with the sag, a barrier that was installed perfectly in year one can be doing very little by year four in a Henderson home.
The flip side is that the same dry climate makes radiant barriers more valuable here than in humid regions. There’s no condensation on the foil, no corrosion concern, and the reflective surface stays intact underneath the dust. A barrier in Henderson that’s been maintained properly has a long working life. The failure modes here are mechanical, not chemical.
Neighborhood context matters too. Homes in Green Valley and Anthem that sit on west-facing slopes get a longer afternoon solar load than homes with more tree cover, and the barrier does more of the work. In older Henderson neighborhoods with shallower attic depths, the air gap between the foil and the insulation is tighter, so sag creates contact sooner. Those are the attics where the warning signs show up first.
Common Mistakes to Avoid

- Replacing the HVAC before checking the envelope. A 15% runtime increase is a barrier signal, not automatically an equipment signal. Every summer we hear about a $3,000 service call that didn’t fix the problem because the problem wasn’t in the equipment.
- Judging the barrier from outside. You cannot assess a radiant barrier from the roof. Any contractor who claims to is selling you something you can’t verify.
- Blowing insulation over an unsealed attic floor. If new insulation is added on top of air leaks, the leaks stay and the barrier’s performance gets worse. Air sealing comes first, then insulation, and that ordering is not negotiable.
- Cleaning a dusty barrier yourself. The foil surface is fragile. A DIY cleaning attempt often ends with torn material and a replacement bill that was avoidable.
- Ignoring the soffit vents. Blocked baffles don’t just hurt attic ventilation. They take away the convective pathway the barrier needs to shed heat.
- Treating electrical contact as a performance issue. Foil against a junction box isn’t a performance concern to monitor. It’s a safety issue to fix now.
- Skipping the written scope. Any barrier or insulation work should come with a written price and written scope before anyone starts. Get it in writing so you know exactly what’s being replaced and what’s being left alone.
When to Call a Professional
Call a professional if you’ve found foil touching electrical components or older wiring, if the foil is sagging enough to touch the insulation below, or if your cooling runtime has climbed 15% year over year with no other changes. Call us if you’ve spotted blocked soffit baffles and you’re not comfortable getting into the attic to clear them. Call us if you’re planning HVAC work and want the envelope assessed first, so you don’t spend on equipment to compensate for a barrier problem. Our technicians have up to 10 years of experience reading exactly these conditions, and Envelope Insulation Henderson offers free estimates in Henderson. Reach us at (844) 320-5338, and every job starts with a written price before any work begins.
Frequently Asked Questions
The clearest sign is a roughly 15% increase in daily cooling runtime compared with the same week in prior years, with no change in insulation or equipment. In the attic itself, look for foil sagging into the insulation below, foil that has turned gray-tan with dust, and soffit baffles covered by settled insulation. Any of these is reason to get the barrier assessed.
Yes. A radiant barrier can lose effectiveness simply by sagging out of its air gap, or by accumulating enough dust to reduce reflectivity. Neither shows up as visible damage to the material. The foil looks intact, but it isn’t reflecting heat the way it did when it was installed. That’s why the runtime baseline matters as much as the visual check.
A properly installed and maintained barrier can stay effective well past a decade in Henderson’s dry climate, because the material doesn’t corrode here. The limiting factors are mechanical: staples pulling loose, foil sagging, and dust accumulation. Homes in older Henderson neighborhoods with shallower attic depths tend to see these problems earlier.
Coverage depends entirely on the original installation warranty, which is why the written scope and written warranty you received at the time matter so much. If you can’t find the original paperwork, a professional attic inspection can tell you the current condition of the barrier and whether replacement is warranted. Envelope work we complete falls under our 365-Day Done Right Promise, backed by written documentation.
If the foil is intact and just dusty, assessment is the first step; cleaning is difficult and often not worth the fragility risk. If the foil has sagged into the insulation or the dust layer is heavy, replacement is usually the practical answer. The deciding factor is whether the air gap can be restored and maintained.
Confirm that air sealing will be done before any insulation goes in. Top plates, can lights, and penetrations need to be sealed first. Ask what condition the existing radiant barrier is in and whether it’s touching the insulation. And ask to see before-and-after blower-door readings, which show in a single number how much air the home was losing before and after the work.
The Bottom Line
A radiant barrier fails quietly. The visible signs are foil sagging into the insulation, foil darkened by dust, and soffit baffles buried under settled material. The invisible sign is a cooling runtime that creeps up year over year while everything else stays the same. Watch the runtime, check the attic, and get the barrier assessed before you spend on HVAC. The one sign that needs immediate action is foil touching electrical components, which is a safety concern rather than a performance one. Under Haven Standard, every job begins with a written price and ends with a documented record, including photos and blower-door numbers where they apply.
For a free estimate in Henderson, call Envelope Insulation Henderson at (844) 320-5338. Every job begins with a written price before any work starts, and you’ll get a documented photo record when we leave. Start with the Envelope Insulation Henderson home page if you want the full picture of what our building-envelope services cover.
Written by the team at Envelope Insulation Henderson.